Monday, December 10, 2012

Family Room Design Plan

Wow, what a fun weekend!  We enjoyed some 7th grade basketball (very fun to watch!), dinner with friends and I had an opportunity to tour a few of the homes on the IPC Holiday House tour on Sunday afternoon.  I have to say Andrew Brown's house was amazing.  Such a cool mix of styles and totally unexpected from the traditional exterior of the home.  I'm sorry I didn't take a single picture.  I decided to treat myself to the tour without focusing on reporting it all.  I did lots of inspiration and will certainly be incorporating lots of the ideas from what I saw into the design plans I'm currently working on for clients. 

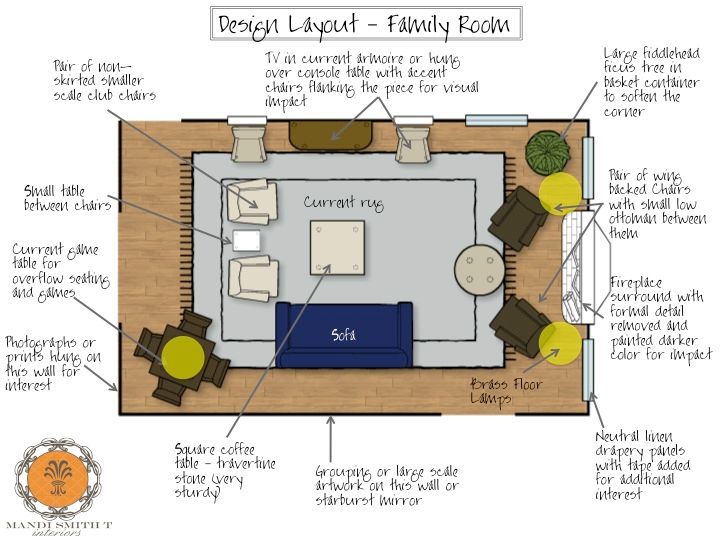
Speaking of design plans, I wanted to show you a design plan I put together for a cute couple in Mountain Brook.  They have a gorgeous home and were interested in a fresh perspective for their family room.  Here's what I came up for their space.
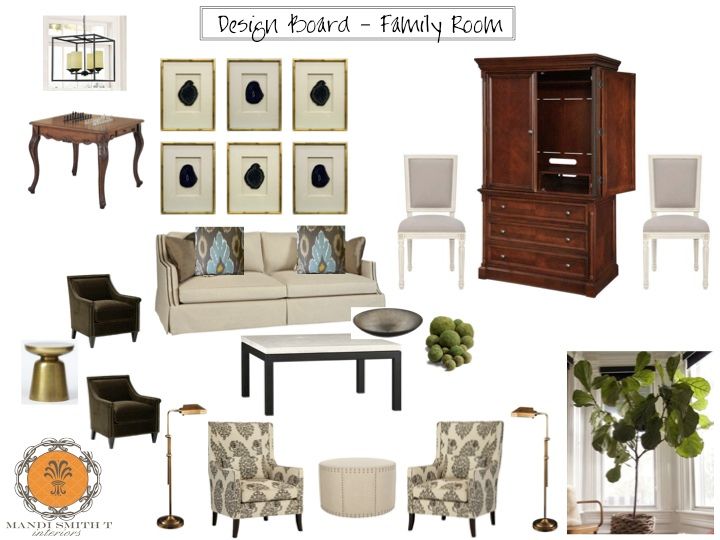
Here is the design board for the space.  The fabrics for the pieces shown will be totally different (for example the sofa is a midnight blue jumper pattern), but this gives you an idea as to how the pieces relate to each other.  The game table and armoire were pieces the client had and wanted to use in the space.  They also have a fabulous Heriz rug with lots of navy and gray(sorry no pic of the rug). 

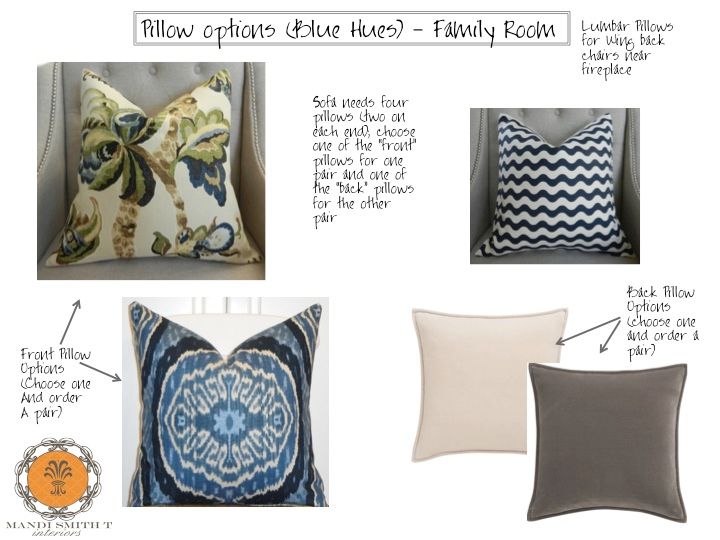
And here is one option for the pillows we're considering for the space. 
How's the holiday shopping going?!  I've decided to do most of mine online this year.  So much easier than braving the crowds.  M.

All sources for these products included in this plan are considered work-product.  Thus, I am not able to share them with you on the blog.  However, if you would like help in pulling a space together or creating a plan to take your current space to a whole new place, I would love to help you! 


Friday, December 7, 2012

Christmas Decorations - Dining Room

Can I tell you how thrilled I am it's Friday!  What a crazy week it's been . . . I've been working on design plans, Christmas fluffs for clients as well as my own decorations.  To add to this, I'm cleaning out my kid's rooms to make way for the addition of Christmas stuff.  All in all it's been productive, but totally chaotic.  So, I wanted to end the week on a calming/inspiring note.  

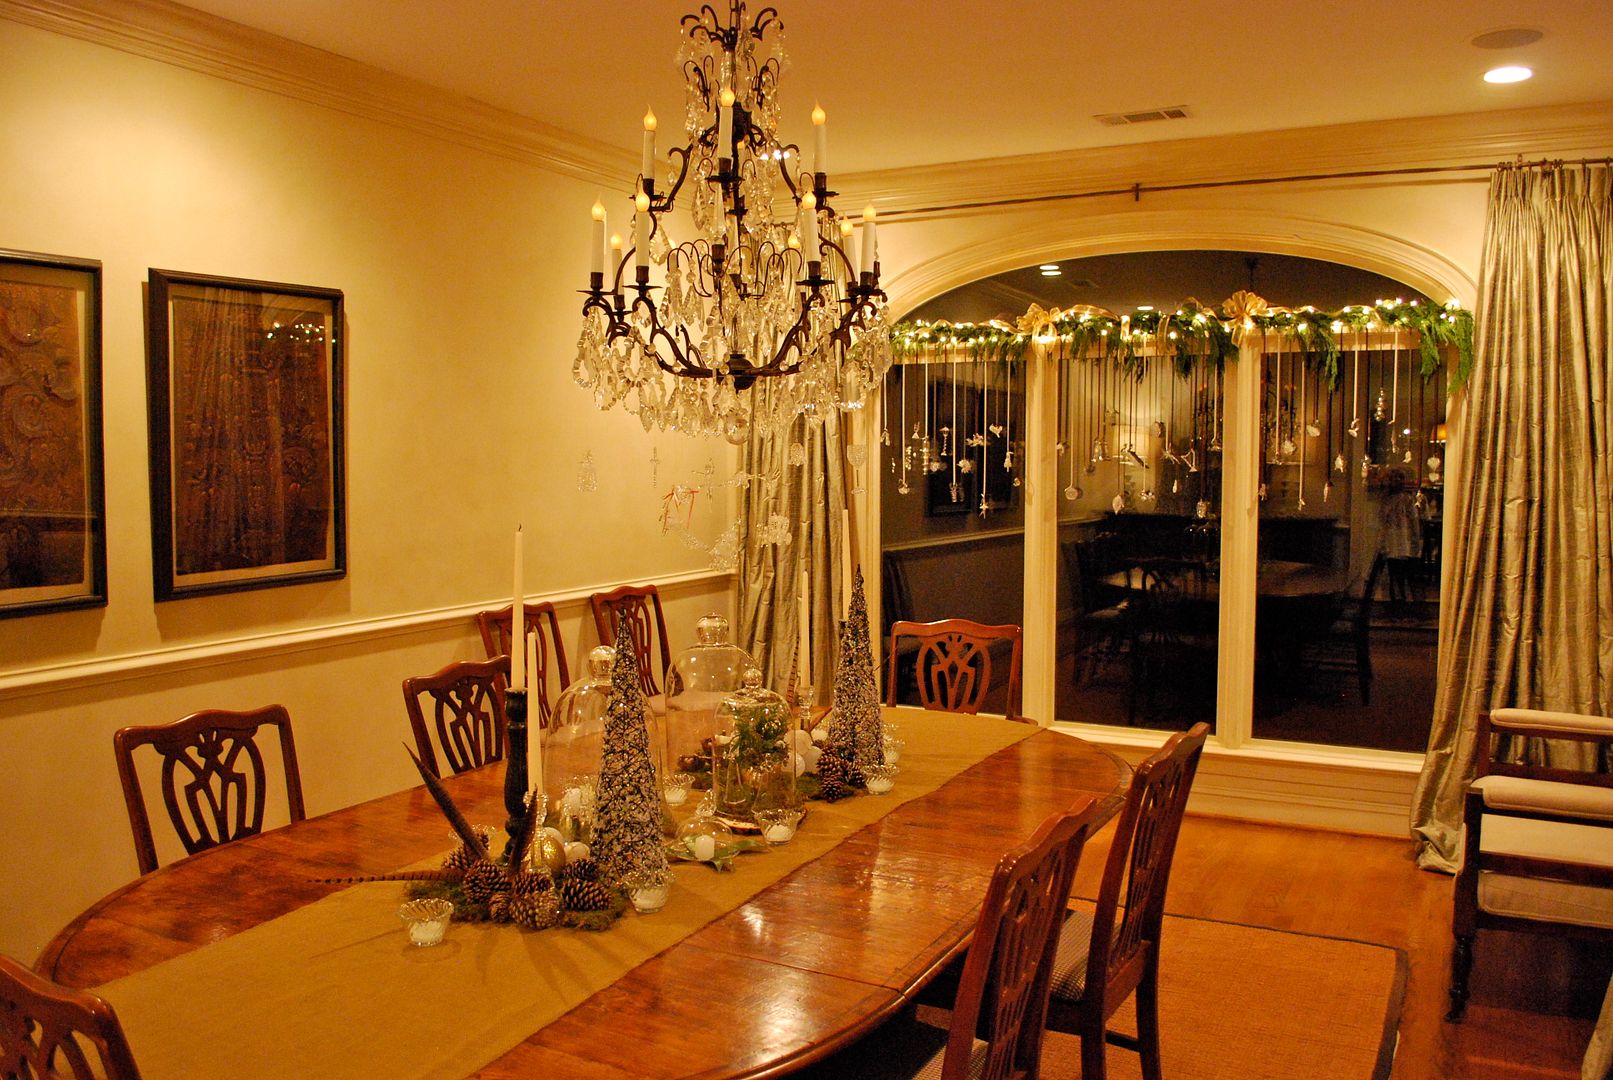
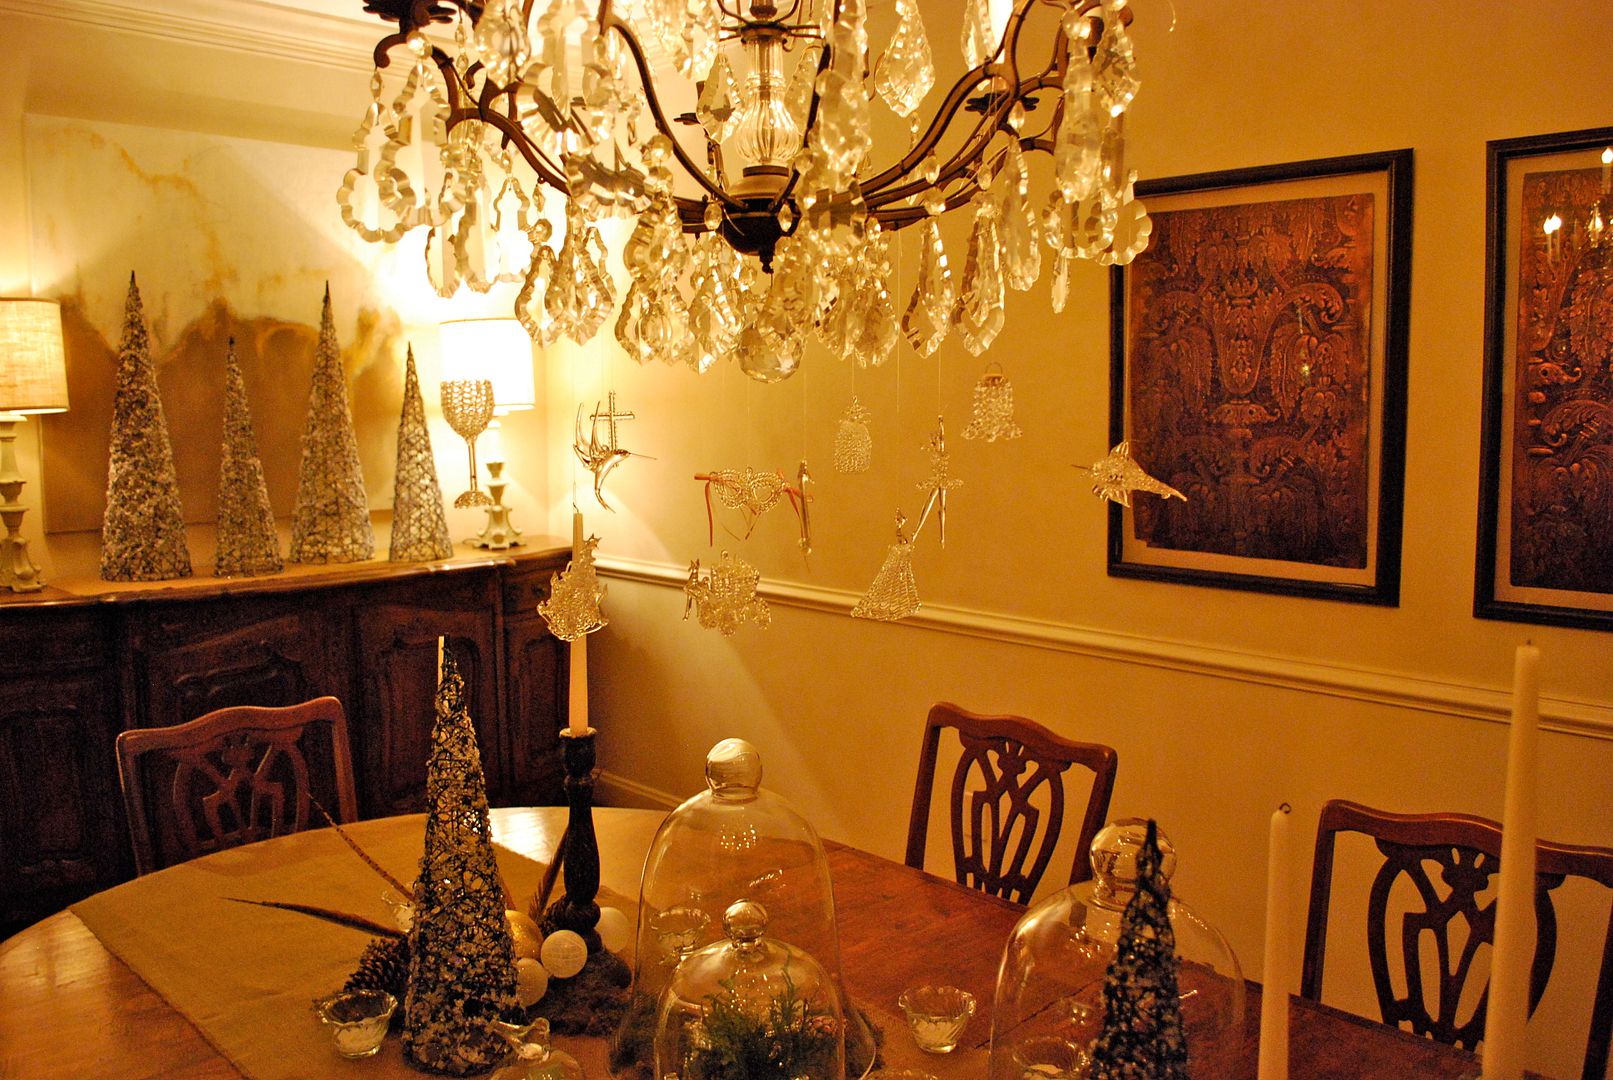
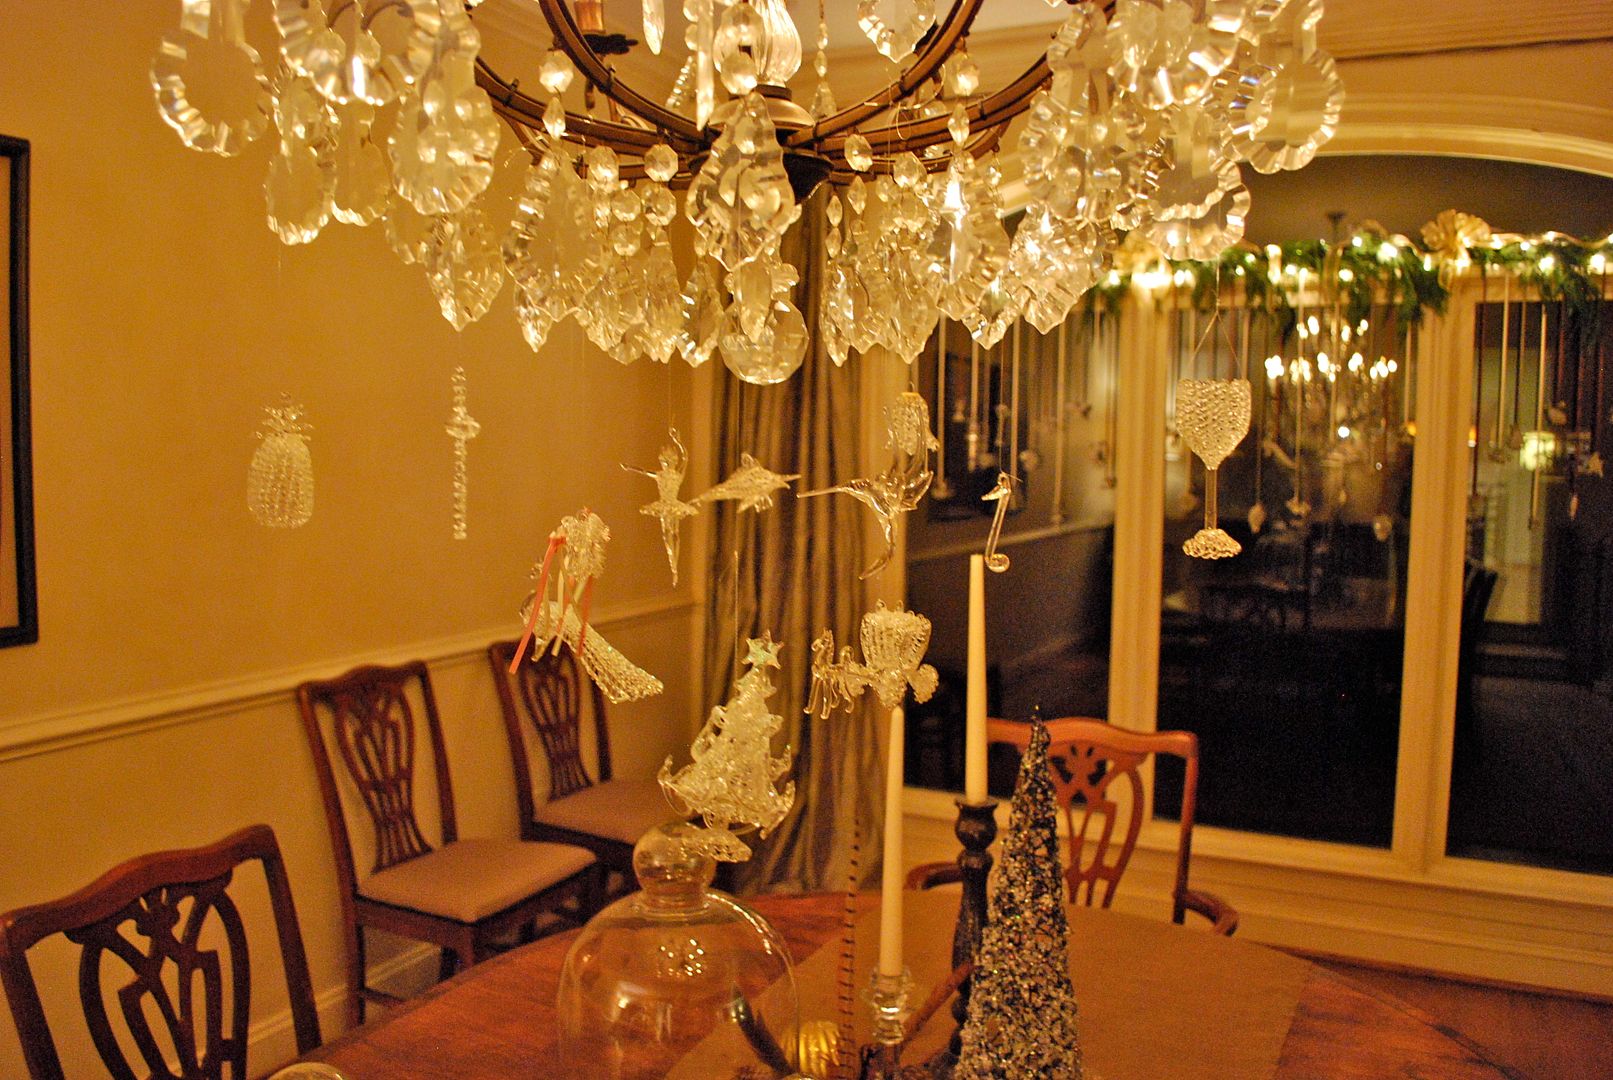
Here are a few images of my dining room all decked out for the holidays.  One caveat, it was very difficult to photograph, and I found the ornaments could be seen more easily at night.

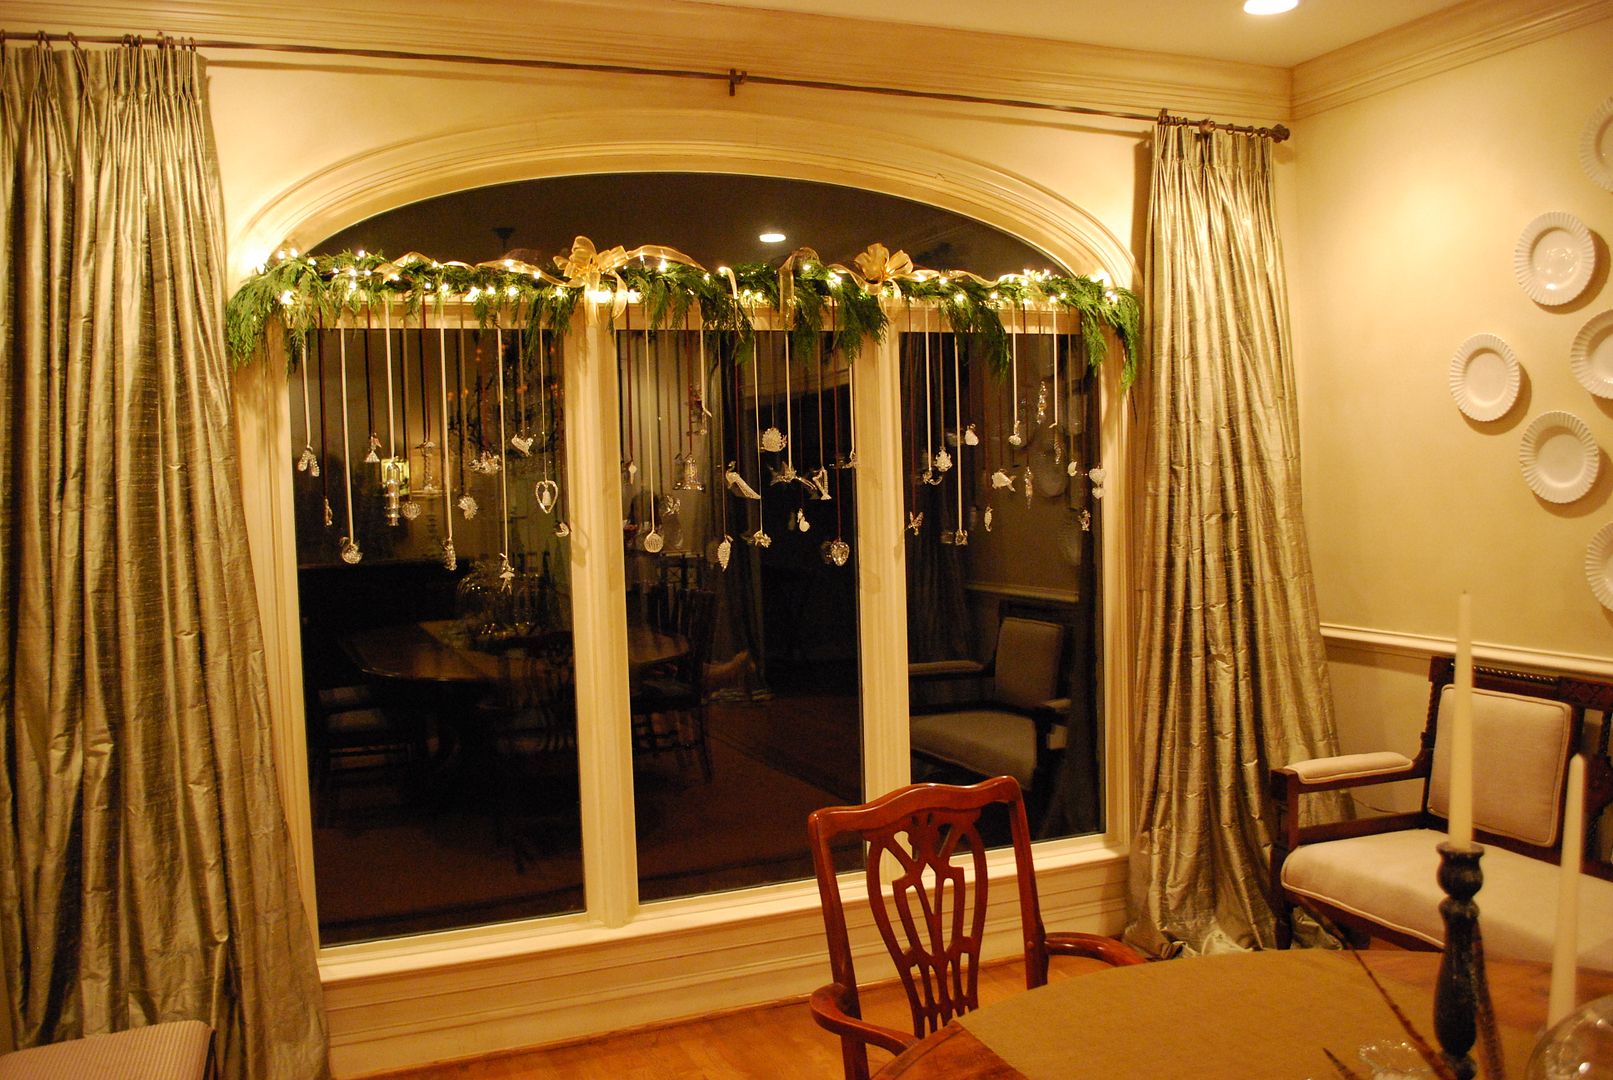
Here's a view from the other side of the room. 

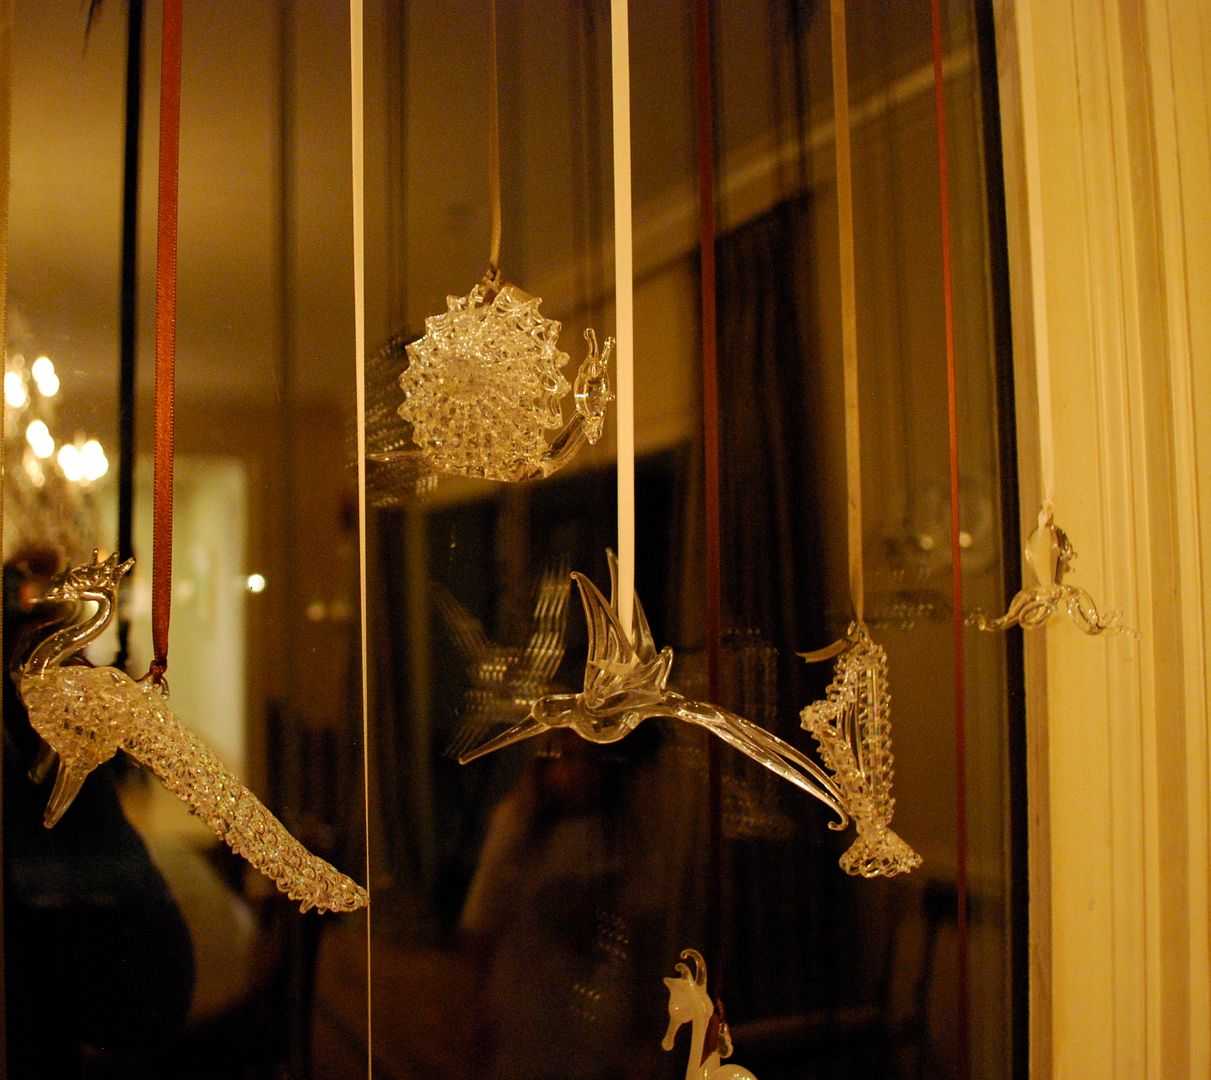
This past fall, a very dear aunt of mine called and asked if I wanted all her blown glass Christmas ornaments.  She's had these since I was a kid.  I still remember her Christmas tree covered in them.   I would walk around it picking out my favorites - the ballerina, Cinderella's carriage, and a Christmas tree. After I picked myself up off the ground and thanked her for this very special gift, my mind started racing on what I would do with them.  

Since the ornaments are clear glass, they are very difficult to see on a tree.  You really need colored lights to give them some interest.  In addition, these ornaments are the most fragile things I've ever used in decorating a space.  Since I have white lights and my kids are not super careful around our tree, I decided to use them in my dining room.  

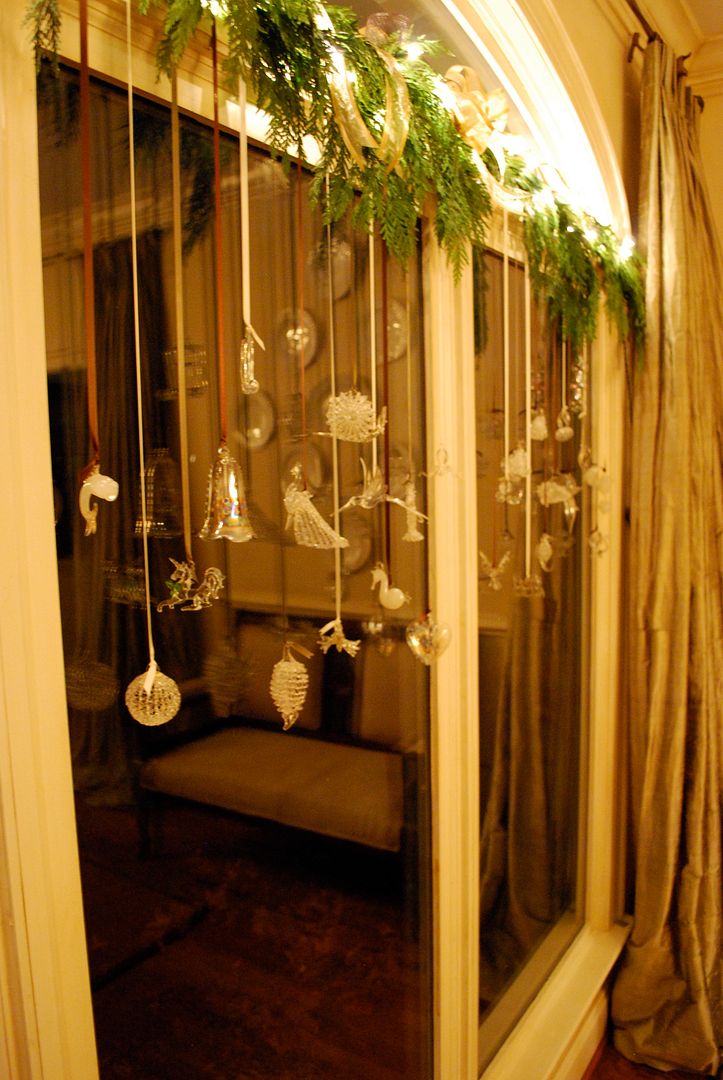
My solution was to hang them from ribbon (1/4" chocolate, moss green and cream double sided satin ribbon) in front of the large windows in my dining room.  By grouping them, you really get some impact.  And by suspending them from the ribbon,  you can appreciate all the intricate details of each one.  They truly are like little works of art.

The small ledge from the transom window gave the ornaments just enough space to float in front of the window.  I then added some cedar garland with one strand of white lights to the top to hide the hooks, and I threw in some ribbon for good measure.  As an aside, I did not make a million nail holes in my window frame - each ornament is attached to one of those small self adhesive clear hooks.  The garland is wired to three nails at the very top where they will never been seen. 

Then we (my daughter was waaay into this project) selected our favorites from the entire collection to hang from the chandelier.  I plan to add a bit of fresh greenery from the chandelier the night before our annual party just to hide the string.  I decided to go with the clear rather than ribbon here so our guest would be able to see each other and not be distracted by tons of ribbon hanging from the chandy.  Do you see the ballerina?? Makes me think of the Nutcracker!

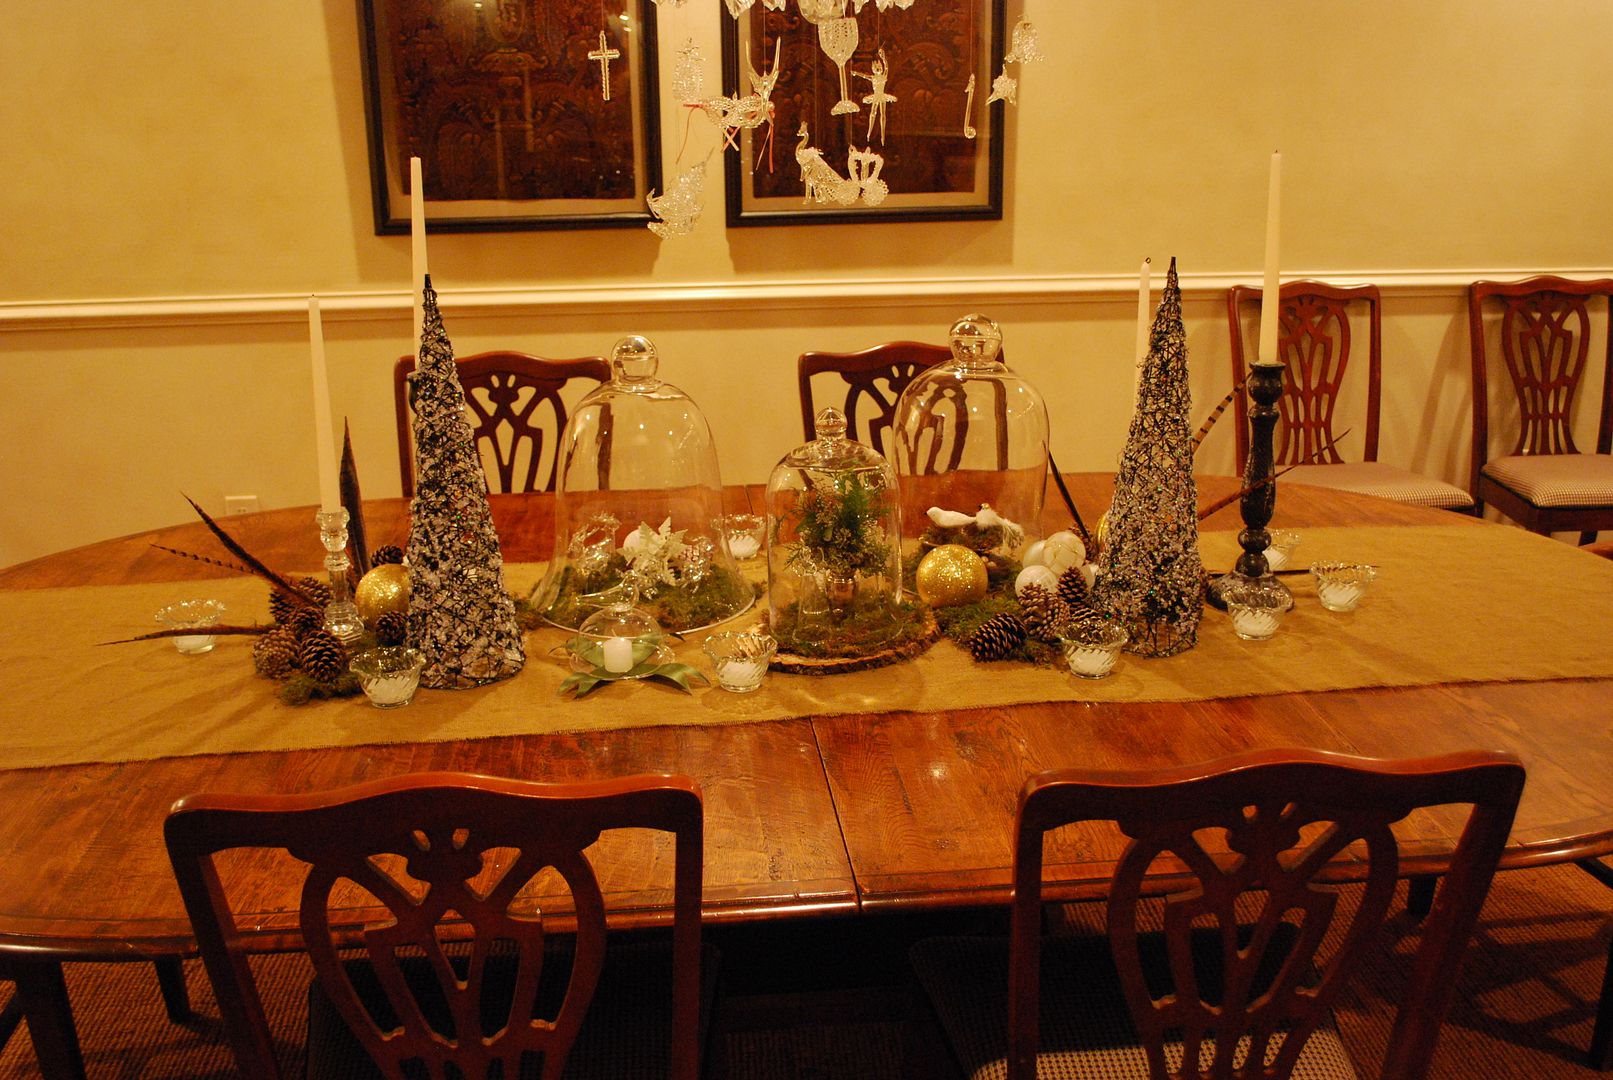
Then for the table top.  I decided to keep the glass/natural element thing going and added as much glass as I could squeeze into the center of my table. 

I already had the glittered trees, pinecones, pheasant feathers, sheet moss and candlesticks.  I did add the three cloches for more sparkle.  I got a great deal on them from here.  I saw a white burlap runner from Pottery Barn for $50, and decided to save a little money by going to the fabric store and purchasing three yards of natural burlap for $15.  I simply cut it the length I wanted and frayed the edges.  I had enough burlap to add a runner to my sideboard as well.  Then, I used things I already had under the cloches for little vignettes of Christmas. 

I hope everyone has a lovely weekend!  I for one will be taking a nap at some point. M.

Thursday, December 6, 2012

Mea Culpa - Color of the Year for 2013

Mea Culpa my Mea Culpa - Update as of 8:00am today, Pantone has announced the color of the year for 2013!!! Apparently, not only did I get the color wrong, I got the date of the announcement wrong too! Hoping you all can relate on some level.  It's just been one of those weeks!  Click here for all the details.


Phrase for the day . . . 
Apparently, I was so excited about Monaco Blue as the color of the year for 2013,  I failed to realize this is the FASHION color of the year, and not the official color of the year.    This is a new one on me since last year's Pantone color of the year was the same for both fashion and home?! I guess Pantone is mixing things up for 2013.  

From what I can gather after additional research (from a friend who is one amazing google guru), the official Pantone color of the year for 2013 will be announced on December 14th in Las Vegas by Leatrice Eisman, Pantone Color Institute Executive Director immediately before an informative seminar on how the color of the year is selected.  Many are predicting one of the top four Fashion colors I posted about earlier this week will, in fact, be the color of the year, but there is no way to know for sure.  Last year, Tangerine Tango was the color of the year for both Fashion and Home for 2012.  But, Pantone may surprise us this year.  

Thank you to the bloggers who brought this to my attention.  I knew something was up when I received a rather "surprised" comment from one of my all time favorite bloggers in the know, Raina Cox from If the Lamp Shade Fits.  My apologies!  

It appears I'm doing way too much of this these days . . . 
So, please standby - I'm not planning on attending the press announcement this year, but who knows?!  Maybe next year, I can work this into the calendar!  M.

Wednesday, December 5, 2012

Project in Progress

Wanted to give you a little sneak peek of what I've been working on lately.  

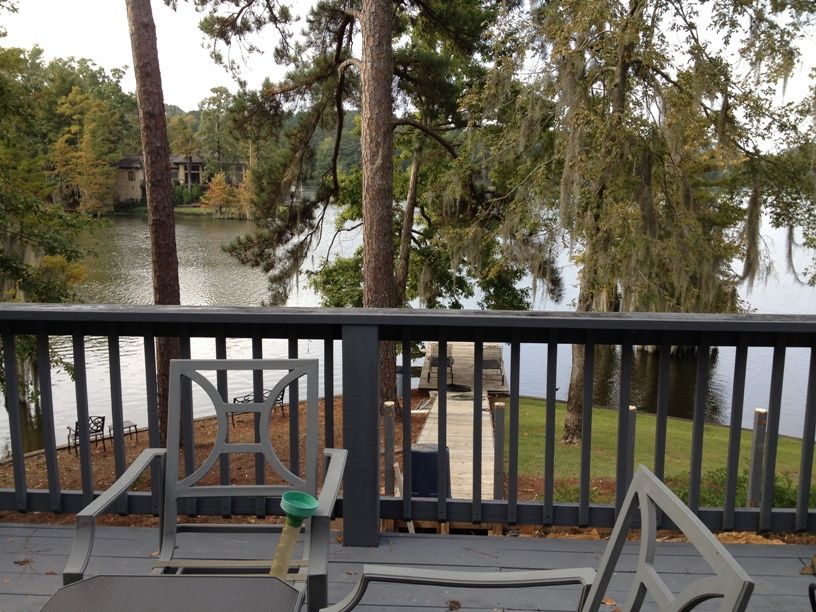
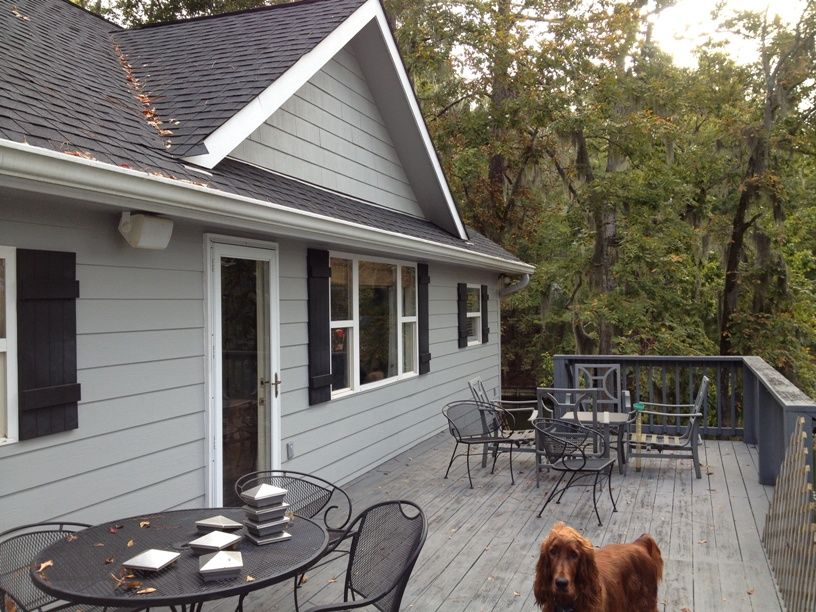
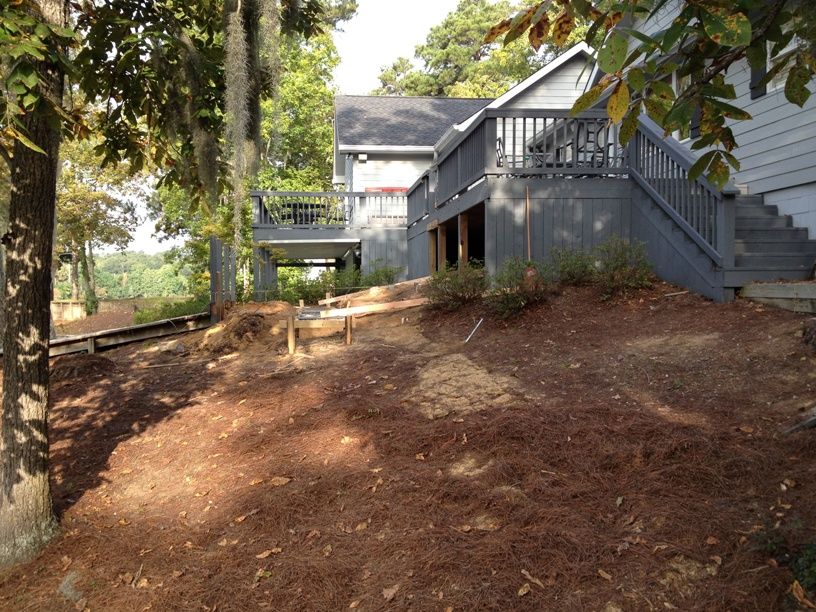
Isn't the view fabulous!   This cozy cottage is located on Jordan Lake which is roughly 25 minutes north of Montgomery, Alabama.  My clients have hired a wonderful local builder to add a screened porch on the lake side of their home.  They (along with everyone else in the community) consider the lake side the "front of the home" which I think is totally appropriate given this view.  The porch will be located here and extend out a bit farther for both dining and lounging.  

They've asked me to come up with a design layout for the porch which will include some affordable finds to make the space feel like a room.  Since the weather here in Alabama is so mild, most people furnish their screened porches like additional living spaces.  I can't wait to show you my plan.  

In addition to the screened porch, they've asked me to help them freshen up on the inside.  We will use lots of pieces they already have, plus a few new items along with tweaking the layout for some additional seating.  I will show you more pictures as the project progresses.  But for now, this is your peek! M.

Friday, November 30, 2012

The MacGyver of Crafting

At the risk of sounding bitter, I wonder what Martha Stewart could do with a pack of rubber bands, some dryer sheets and some used chewing gum found under the kitchen table?  

Something fabulous I'm sure.  
My Mom and I were brainstorming on my neighborhood gifts this year, and she said, "I think Martha's the only person in the world who could pull off giving you manure as a gift.  She would wrap it up with this marvelous gift tag and double sided satin ribbon that read, 'Homegrown Organic compost to be used when planting your crocus and hyacinth bulbs this Spring.  Enjoy!'"  Of course, the recipient would be oohing and ahhing over it.  

And to prove my point - Exhibit A
Yelp.  Totally fabulous Christmas wreath made from coffee filters.  You go Martha! 

And no, I'm not giving manure as gifts this year!  But if I can squeeze in a couple hours after midnight between now and Christmas, I'm so making one of these. :)  Happy Weekend, everybody!  M.

Wednesday, November 28, 2012

Christmas Trend and An Invitation for You . . .

I just love a good design trend, and for me trend spotting flows right over into decorating for Christmas.  This year the biggest single trend I'm seeing in Christmas decor is earthy elements.  

These would include rustic wood chargers, 

pheasant feathers, 

and pinecones, lots of pinecones.


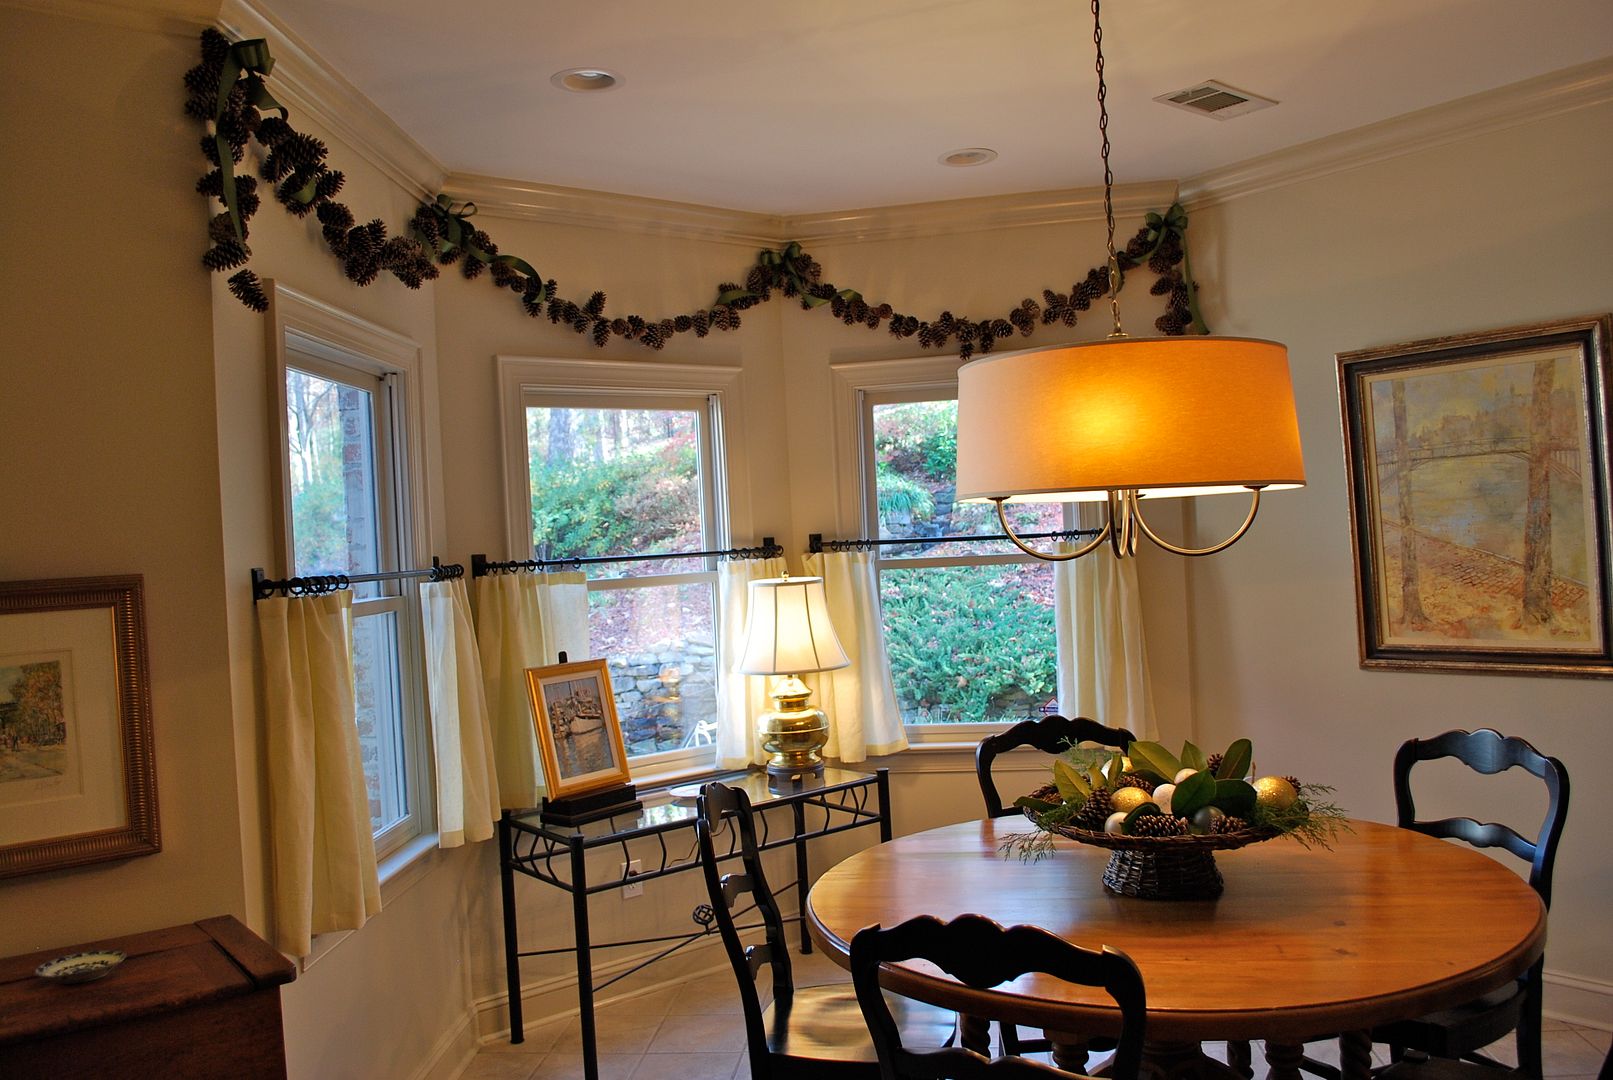
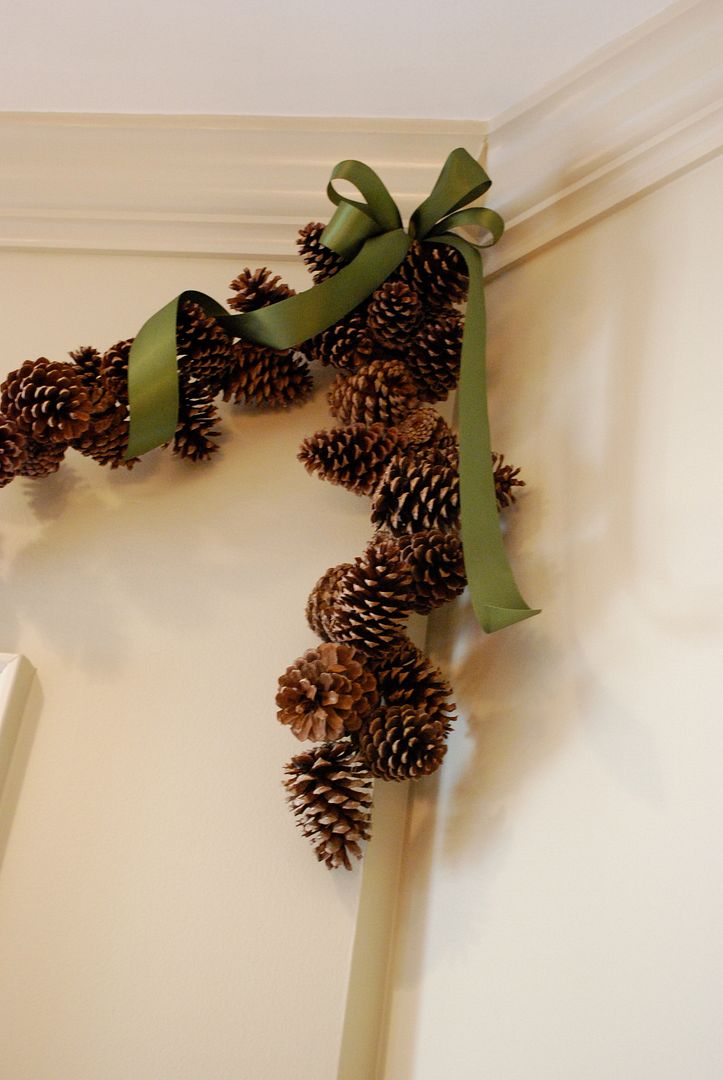
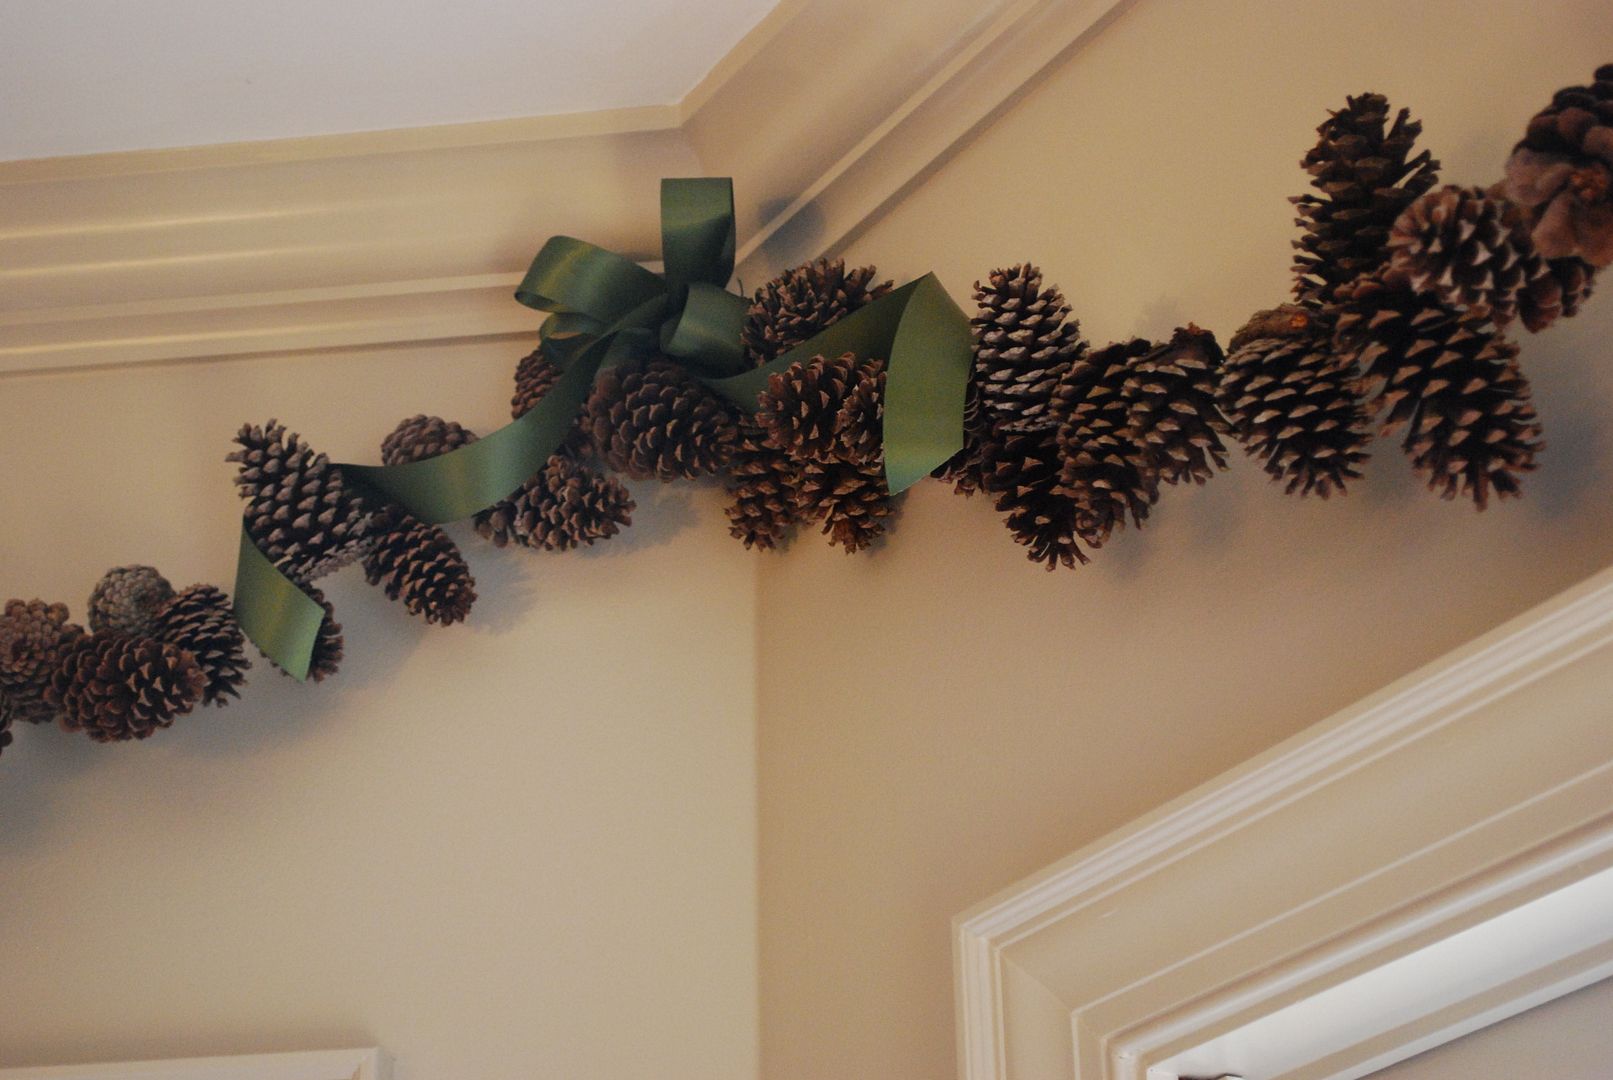
We traveled to Mississippi for Thanksgiving and while I was there, I picked up a huge bag of pinecones while taking walks on my parents' property.  My plan was to use them throughout our house to bring in that natural element.  I decided to try my hand at making some garland with them for my breakfast room.  I normally don't include a ton of decorations in this space.  But I thought the garland was fun! 

It was super easy, but time consuming - I sat for at least two hours working on it and create about 14 feet total.  

I do love the results but would not be patient enough to create a garland long enough for a stairwell banister or Christmas tree!

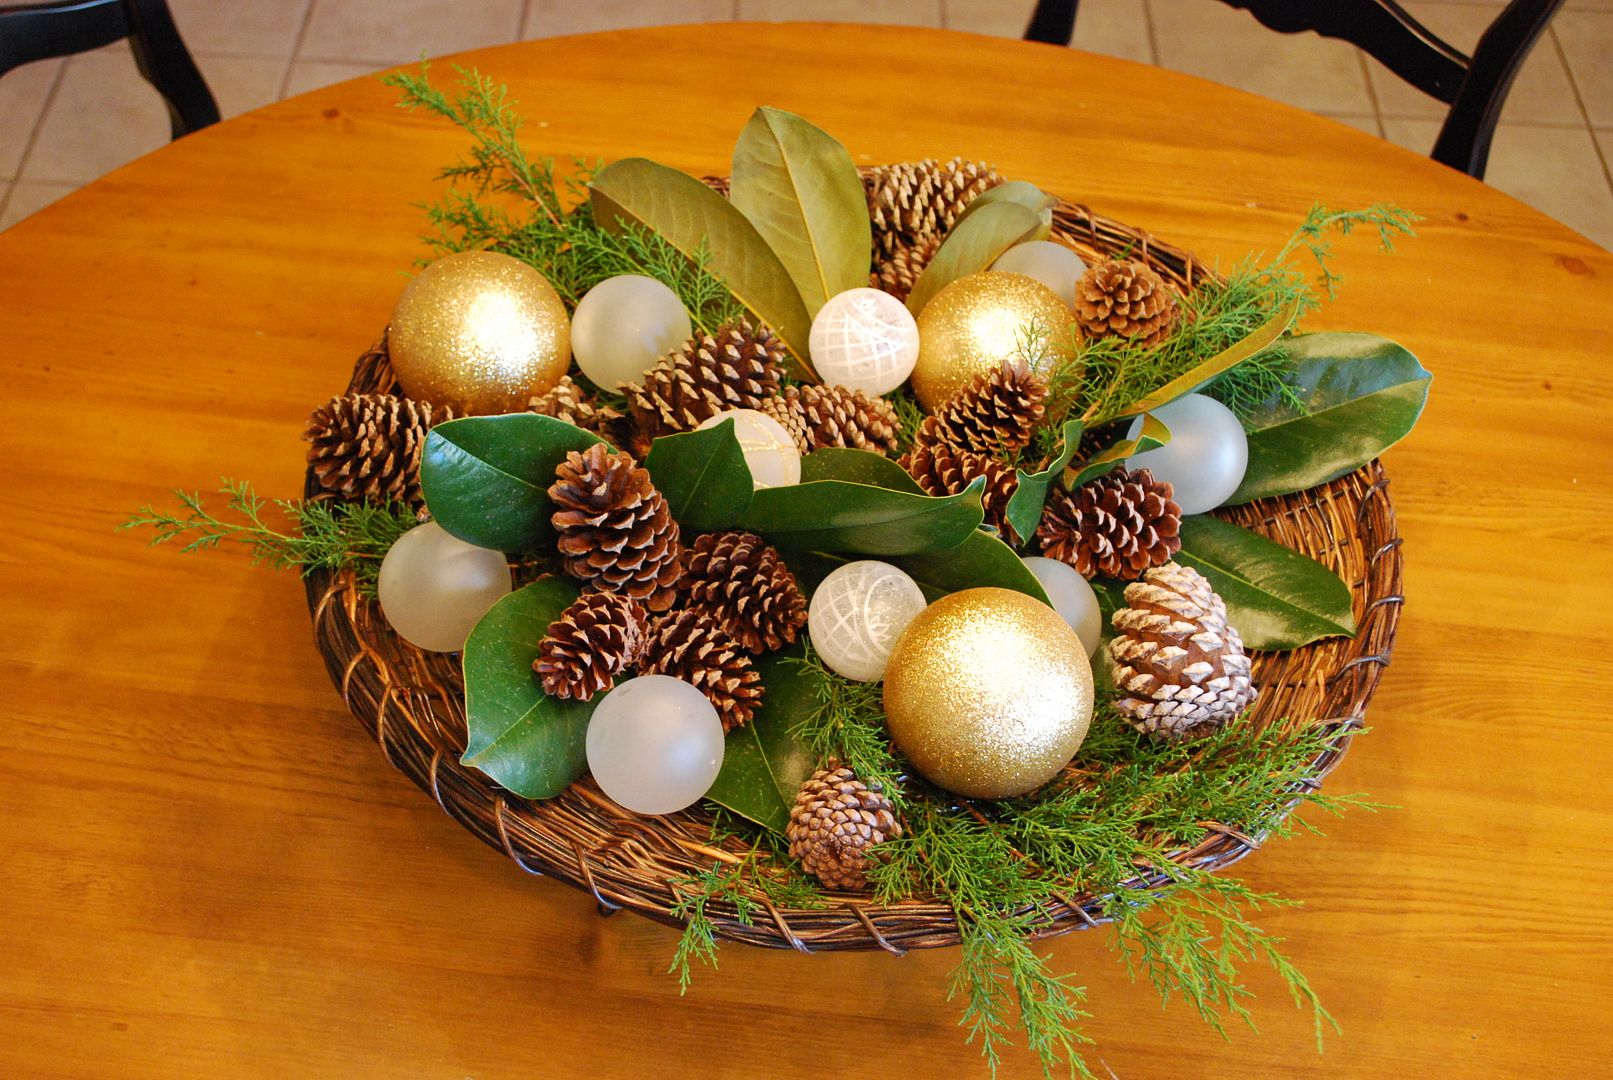
  I then included a few pinecones in my centerpiece arrangement on our table.  

My plan is to carry the pinecones throughout the rest of our home for a pulled together look.  I will be showing you pictures of each room as I finish them.  One room down, several more to go!  As my Mom always says, "Honey, you can eat an elephant, if you really want to.  You just have to take it one bite at a time!"  So, one bite at a time. 

An Invitation
 This is a bit of a late notice, but for those who live here in Birmingham, I wanted to extend this very special invitation.  Tonight, Covenant Presbyterian Church is hosting a evening filled with hope and lots of fun,  "hands on" tutorials.  The speaker, Ashley McCary, is a former church member who was diagnosed with a form of cancer in her eye.  Through this devastating ordeal which has resulted in the loss of her eye, Ashley has exhibited a strength of faith that will encourage you and give you a sense of hope that only God can provide.   The evening will begin with Ashley sharing her story.  
Following, there will be holiday tutorials including everything from how to make bows, decorate your mailbox, and make those fabulous gift tags you see on everybody's gifts.  I will also be there demonstrating how to create a beautiful mantle from start to finish.  These tutorials will give you lots to go home and try in your own home.  And the best part, this special night is completely free.  So, if you are in the Birmingham area, grab a friend and join us to celebrate the beginning of a wonderful Christmas season!  (click here for directions)  M. 

Monday, November 26, 2012

Design Perspective - Cantley and Company

I've wanted to feature this uber talented husband/wife team for quite some time.  This wonderful duo has created a very special company of custom bespoke cabinetry in Birmingham, Alabama.  Their custom designs can be seen in some of the most prominent homes in our area.  They've also been featured in numerous magazines and show homes over the years. 

Interestingly, they do not have a website, only a Facebook page.  The reason - they don't need a website.  Their work is the only advertising they seem to need.  So, I'll do the same here with just a sampling of the awesomeness simply known as Cantley and Company.

Marble detailing around a sterling silver sink (yes, I did say sterling silver).

Ceiling - need I say more.
Here is a cute picture of Keith Cantley doing what he does best!  


What a fabulous place to serve a drink.
 The details in the kitchen below simply blew my mind.  Most kitchens you see these days are all tripped out with marble, including the focal point area behind the stove.  Look closely here, the area is made of plank boards and gorgeous detail trim - all done in wood.  Talk about a price savings, and it's lovely.    
Here's a close up.  This is a very clever way to save some money - also the perfect pairing with those oversized rustic wall sconces with linen shield shades.
One other clever detail.  Notice the upper cabinets - not unusual to see glass fronts on cabinetry.  But it is unusual to see glass wrapped around the sides.  It gives the cabinets a completely different look and feel.  Amazing how such a small detail can transform a kitchen.  Simply love this.
One last view of this kitchen (sorry it's blurry), notice the open shelving and cabinetry near the door (to the right).  It gives this kitchen a very eclectic (I dare say modern) element.  Just love it. 


In the image below, I would never have thought to use the old fashion school house blinds in this kitchen.  But it gives the perfect amount to dark color to tie in the lighting and the stained wood island.
Another detail (in the image below) which really makes a huge difference - notice the stained wood trim between the two windows in this image.  Your natural instinct would be to paint that trim out the same as the cabinetry.  But by choosing to stain it the color of the blinds, the window reads as one large window rather than two small windows.  The color again helps to tie in all the other dark brown elements in the space.  Perfect solution. 
I wanted to include this one to remind you that custom cabinetry is not just for the kitchen.  Look at the lovely curved tub and furniture detailing on the base of the built in cabinetry. 
 
More goodness.


I really think this family owned business has a very special thing going.  Such Wow factor is very difficult to achieve, and they pull it off effortlessly.  M.