Showing posts with label Christmas. Show all posts

Monday, November 18, 2013

Jewel Toned Christmas Table

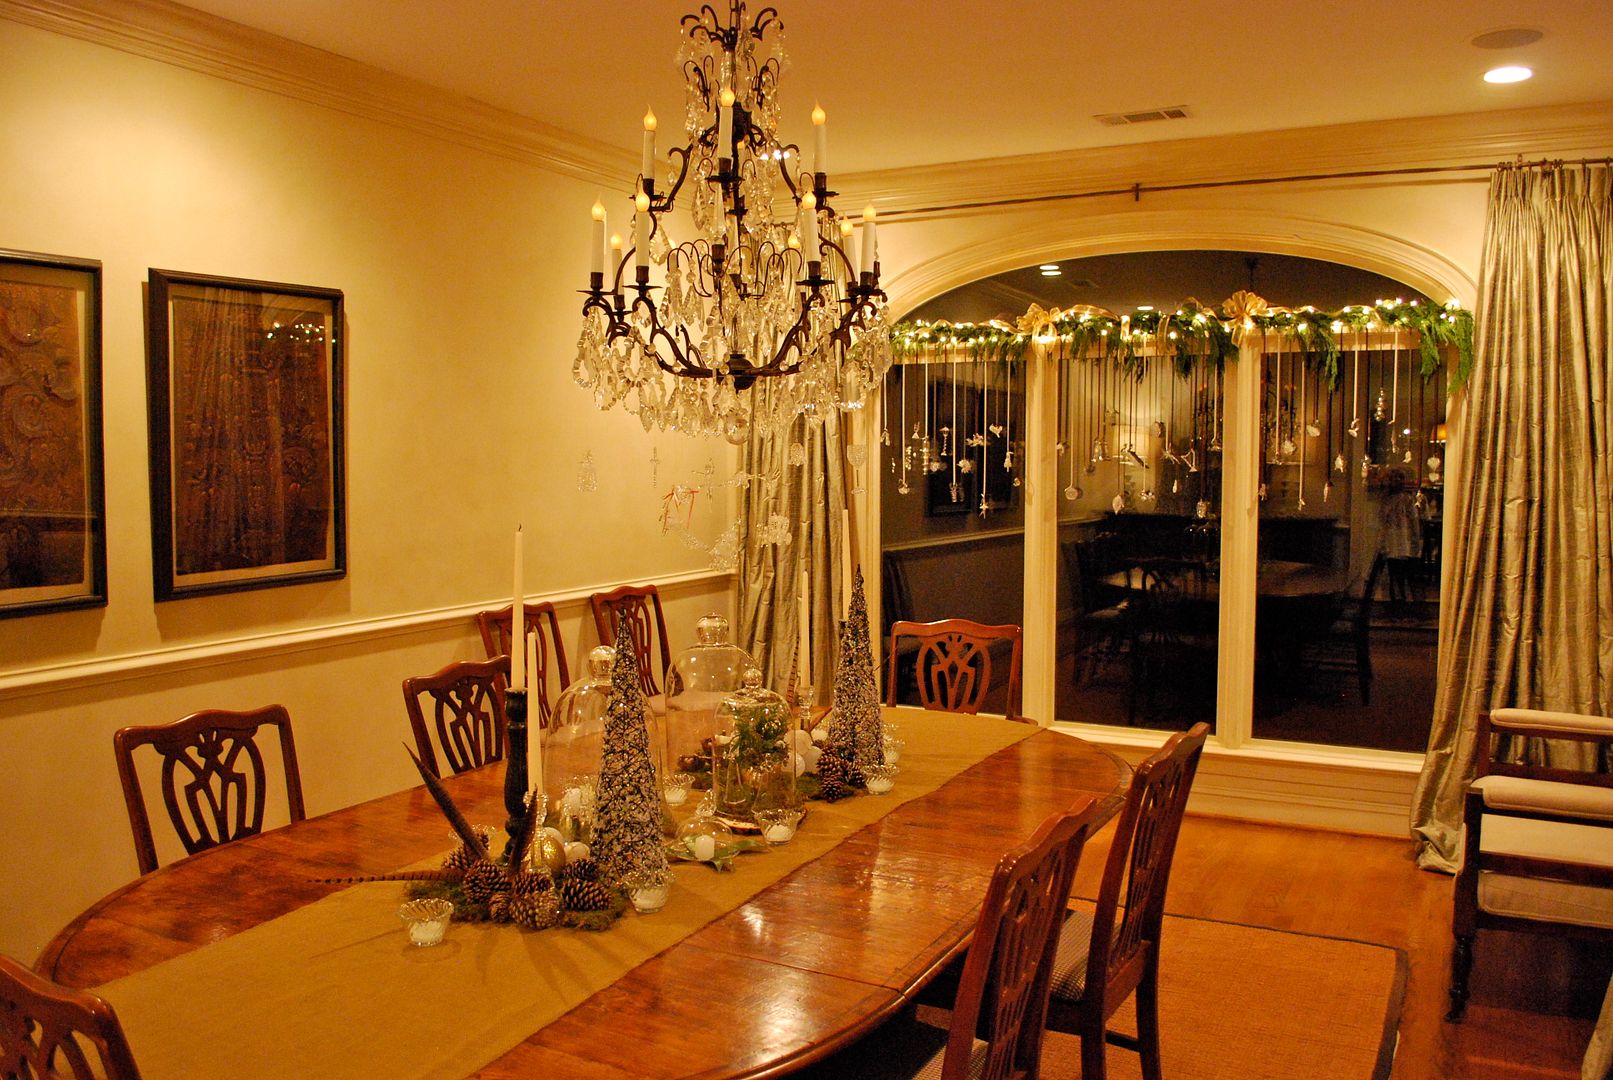
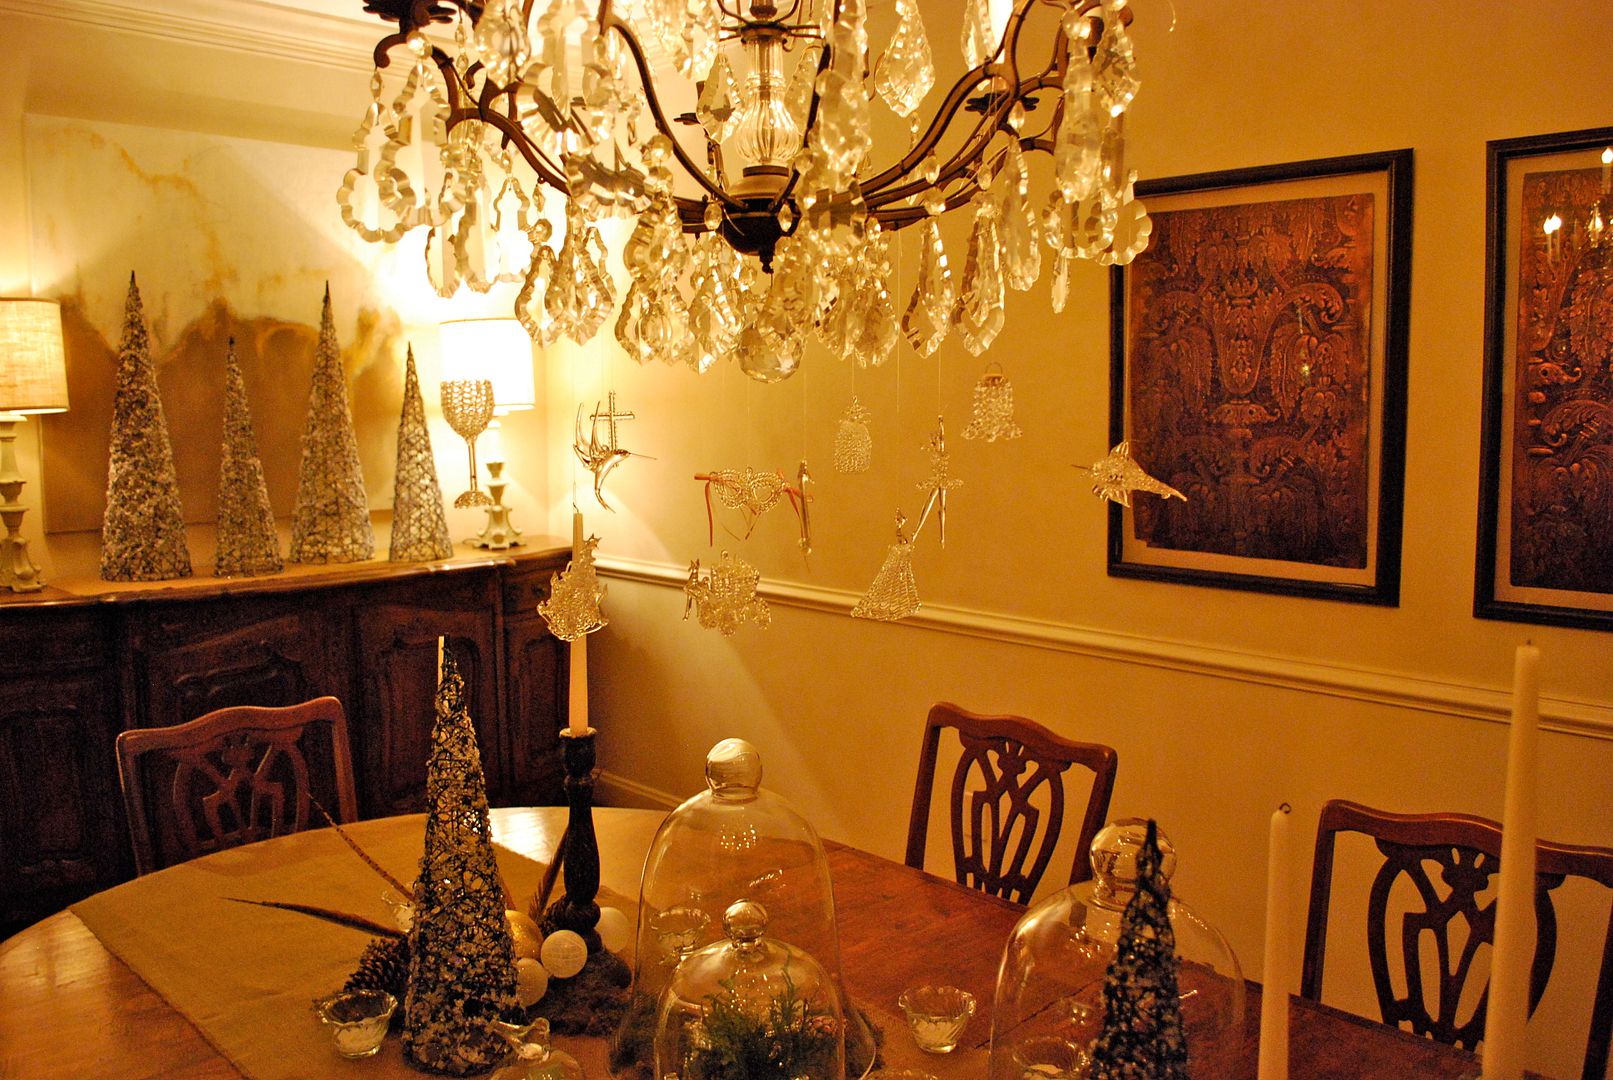
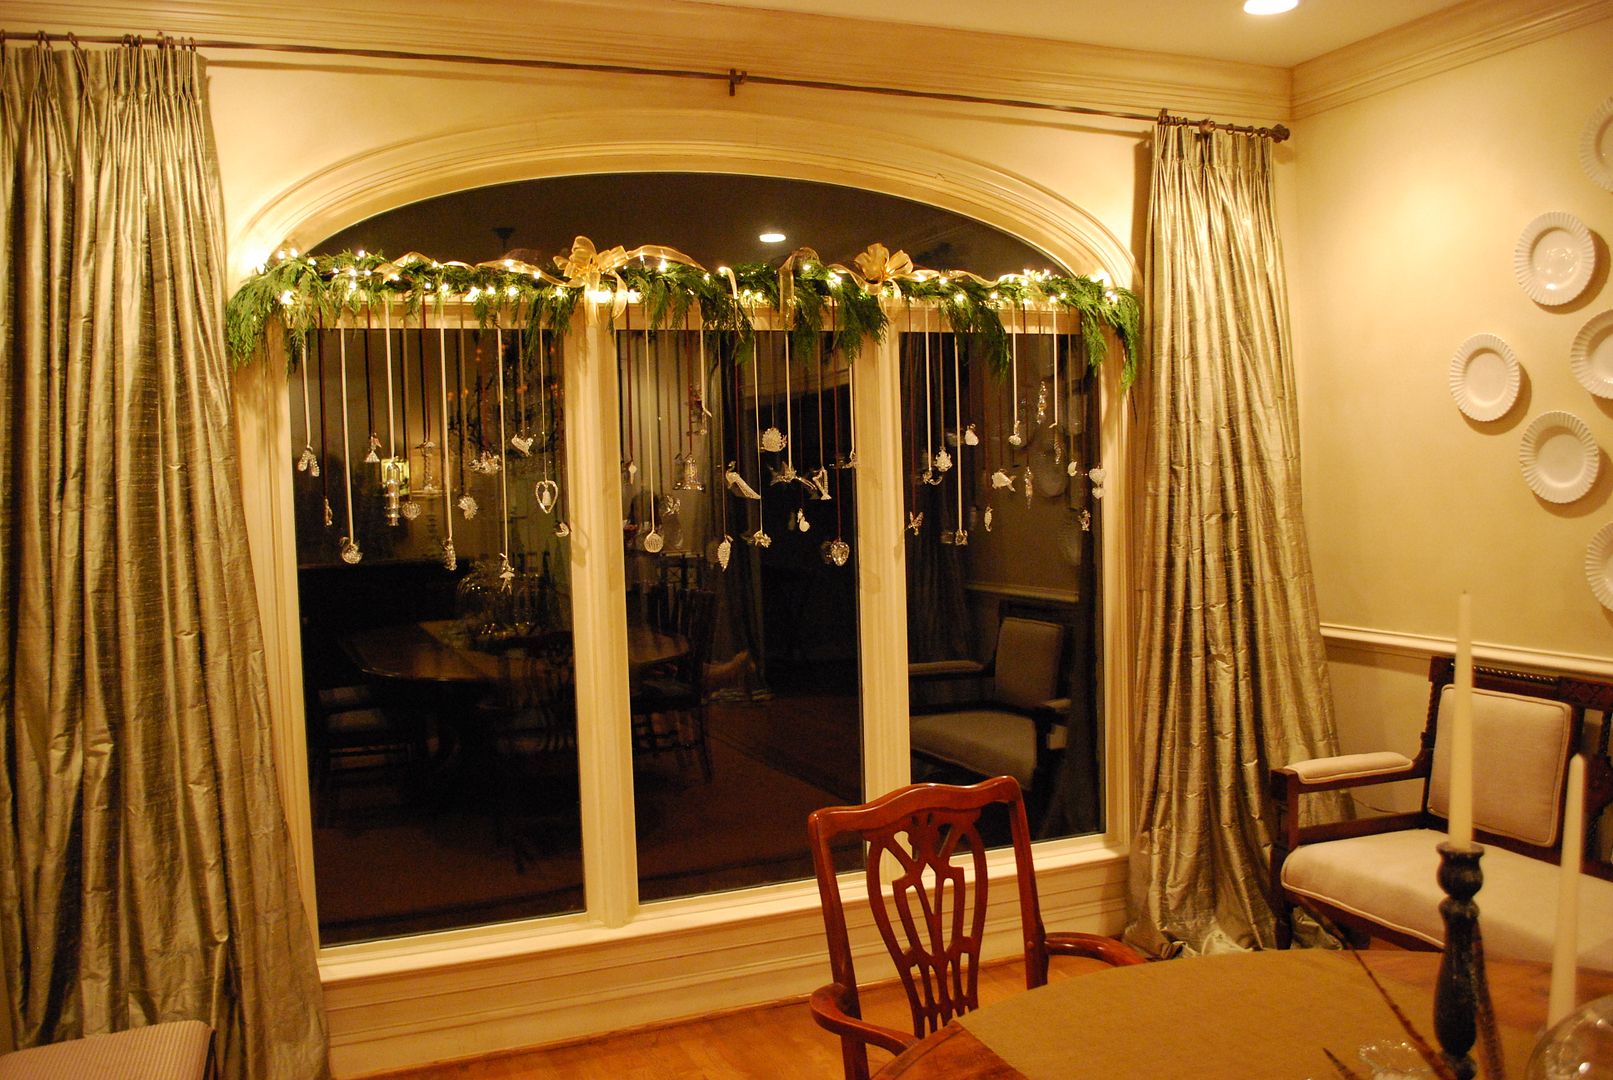
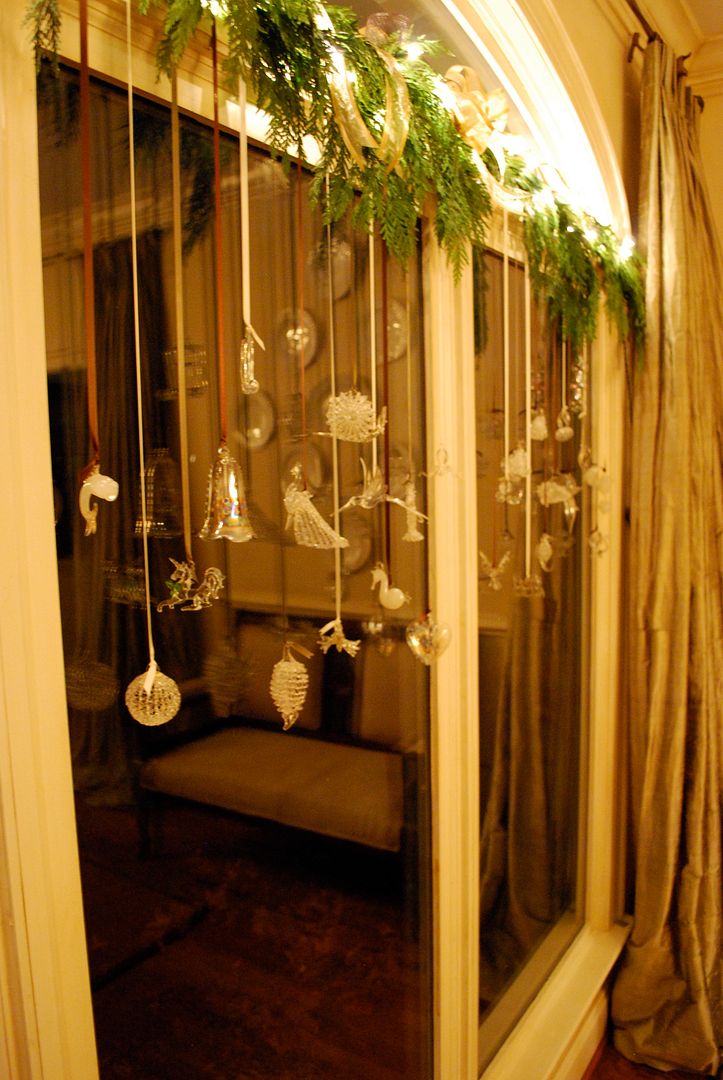
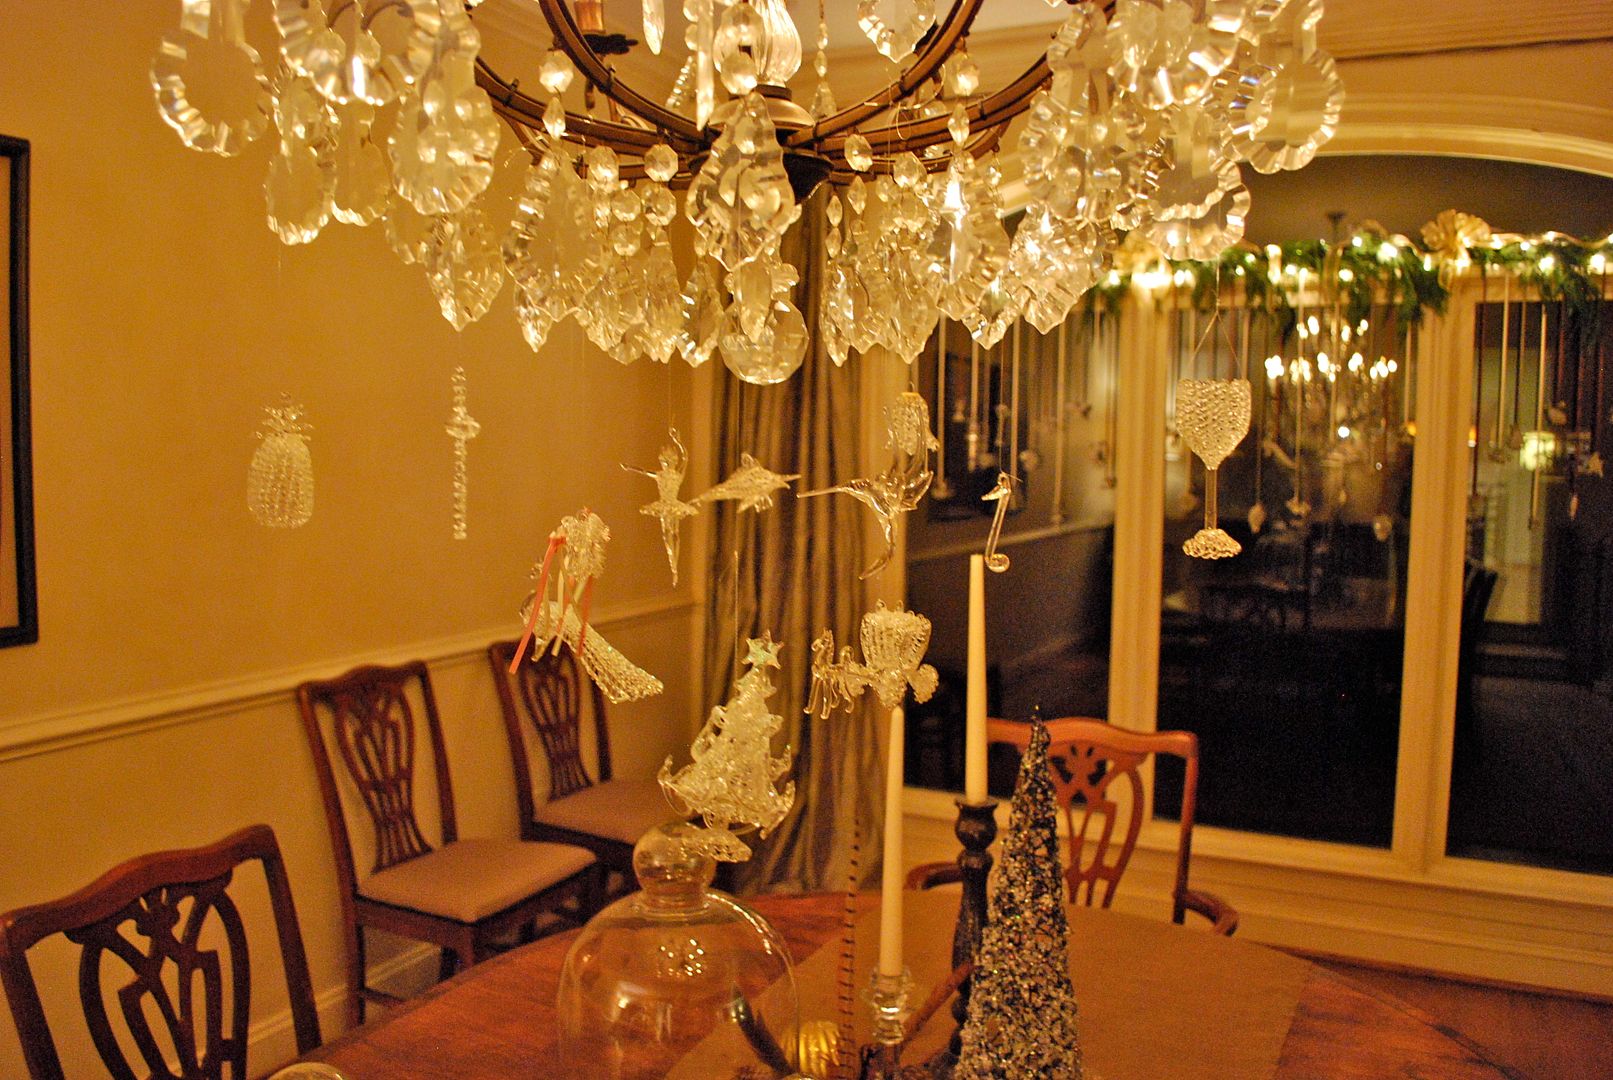
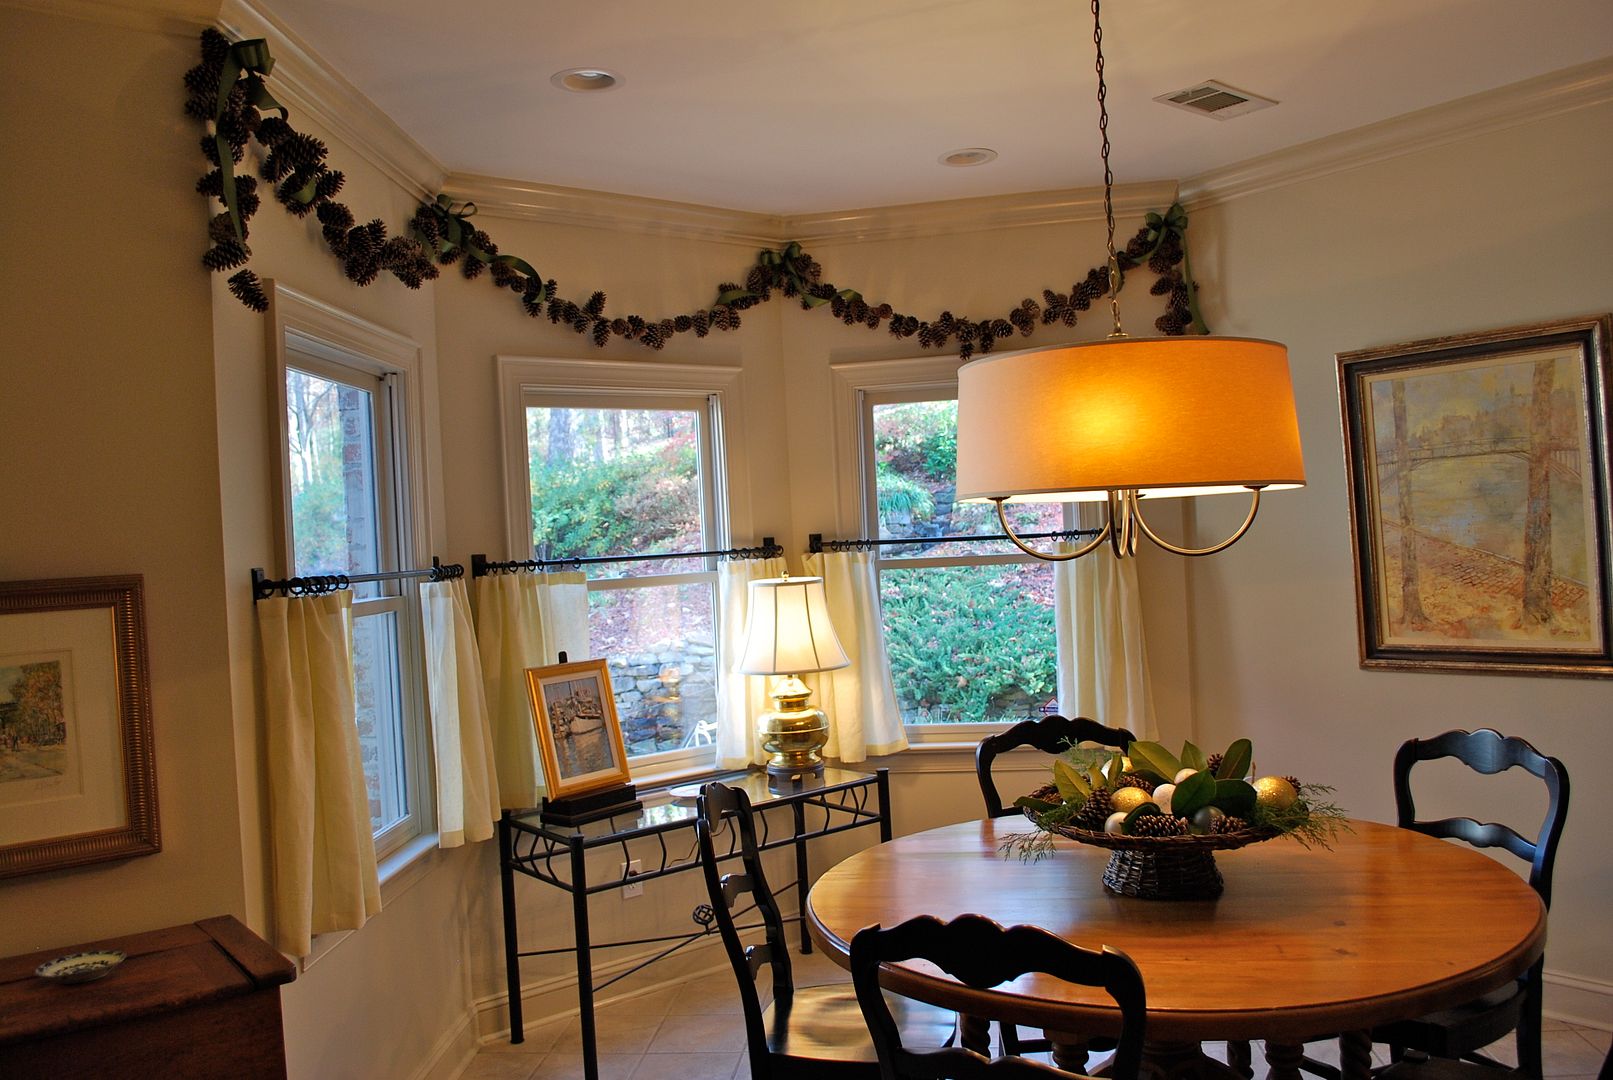
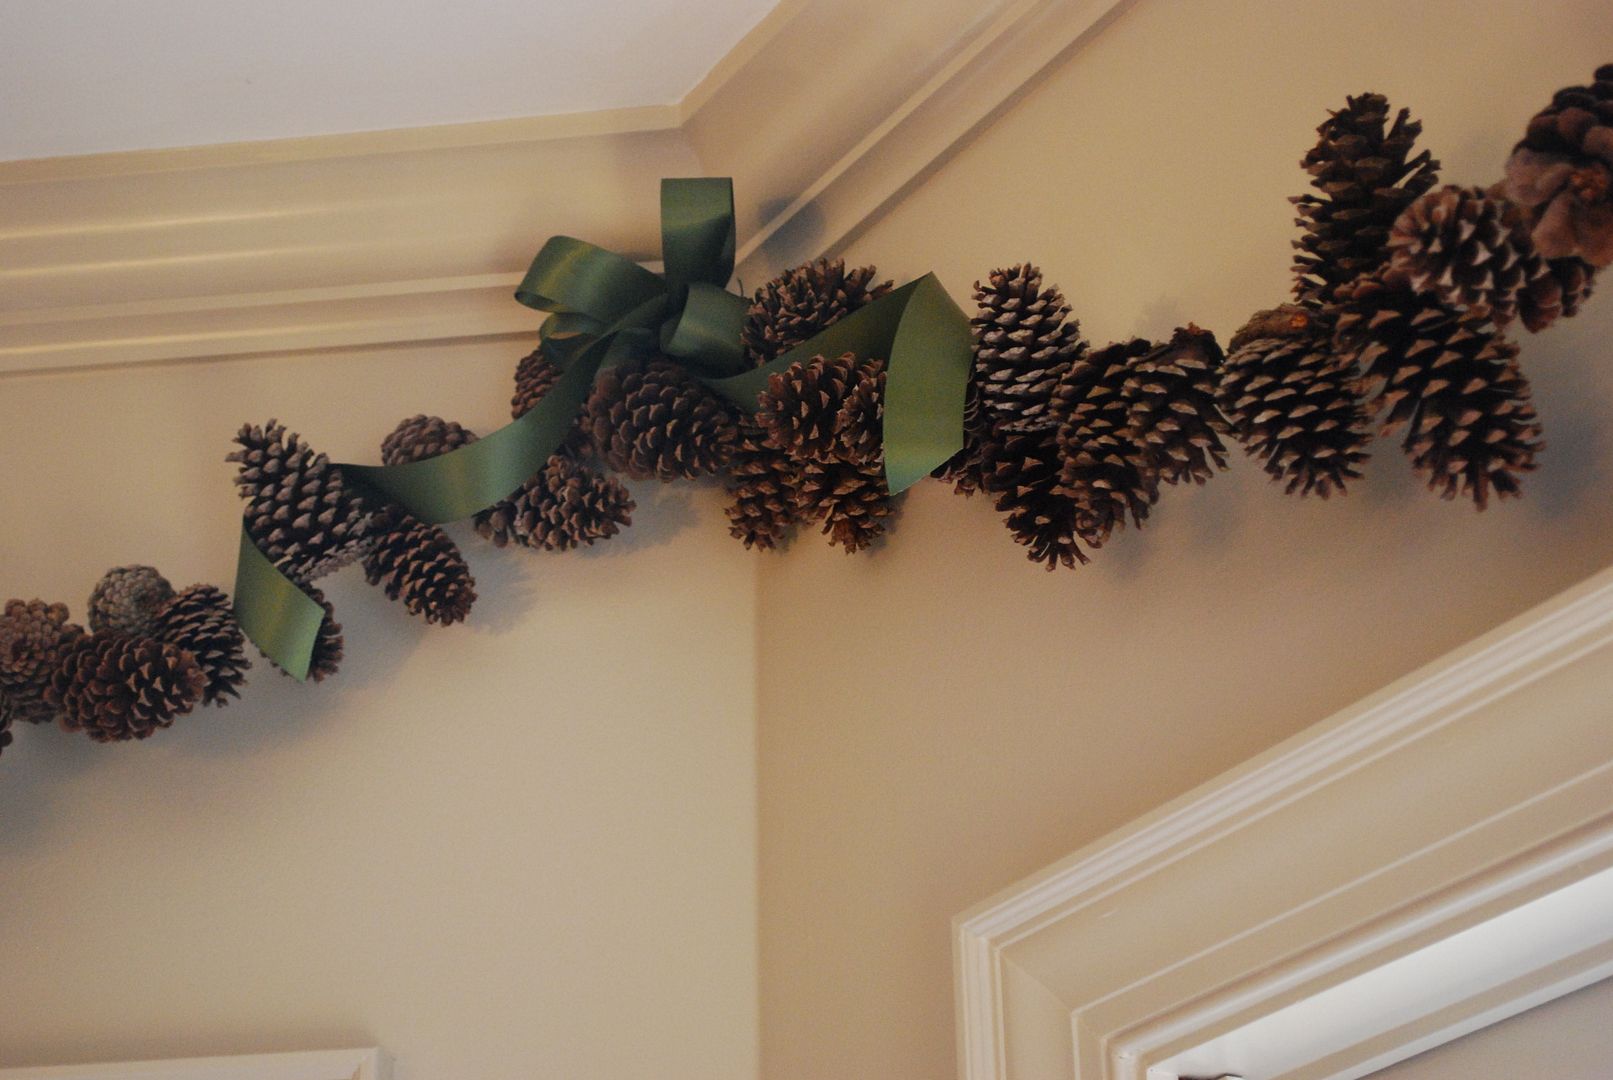
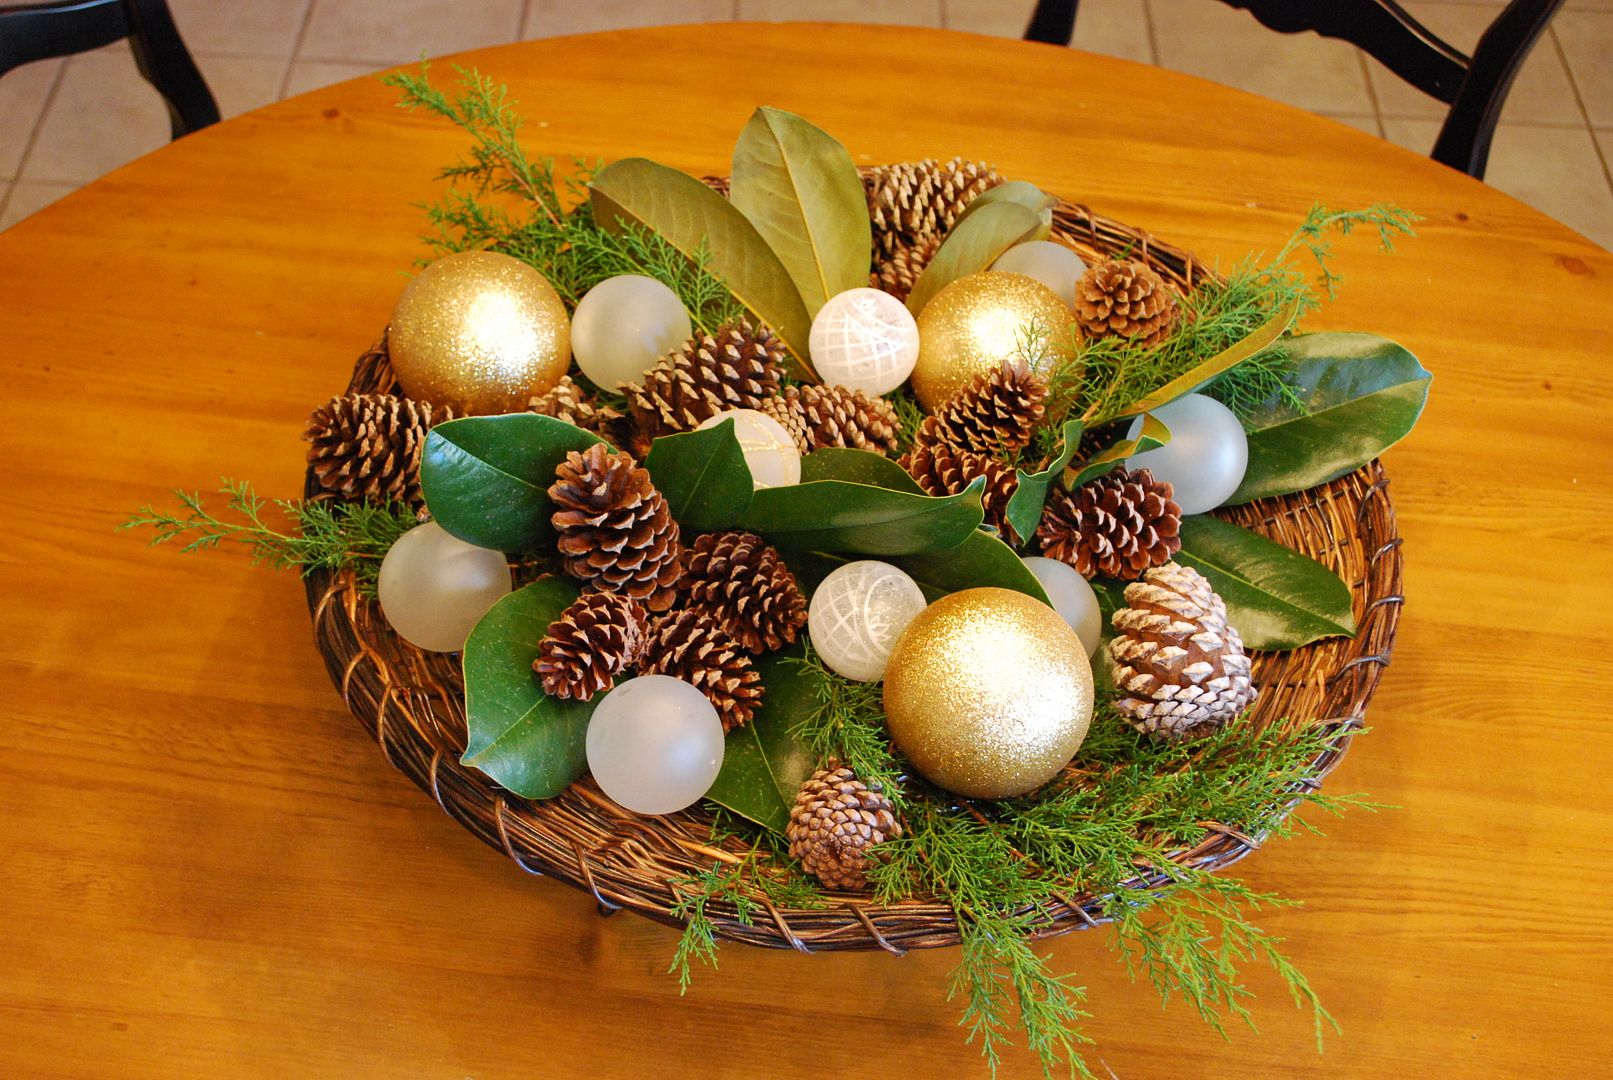
For the past couple of years, I've taken all the red out of my Christmas decor.  (As seen here and here.) Well, this year, I'm jumping back into color in a big way with a mix of traditional red and green along with lots of jewel tones.  They are big big big this year.  So, here's the plan for my dining room table.  All these fun elements coupled with fresh greenery and satin ribbon in emerald green and turquoise will pull it all together. 
(1.) (2.) (3.) (4.) (5.) (6.) (7.) (8.) (9.) (10.) (11.) (12.) (13.)
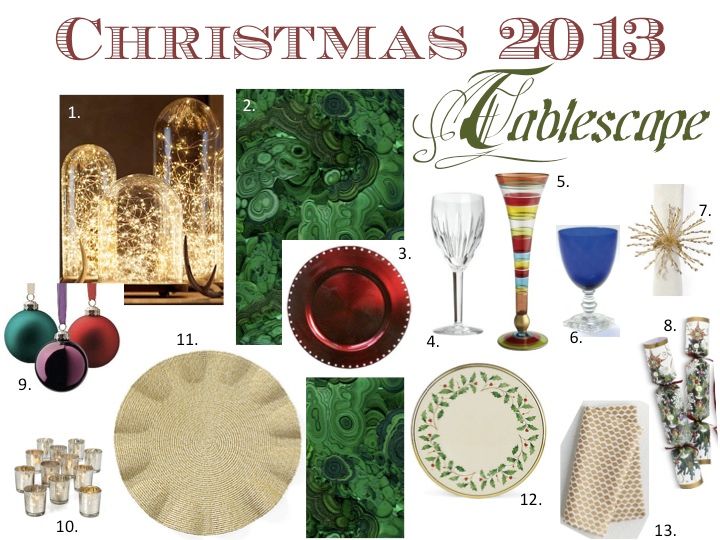
(click on the corresponding number to get one of your very own!)
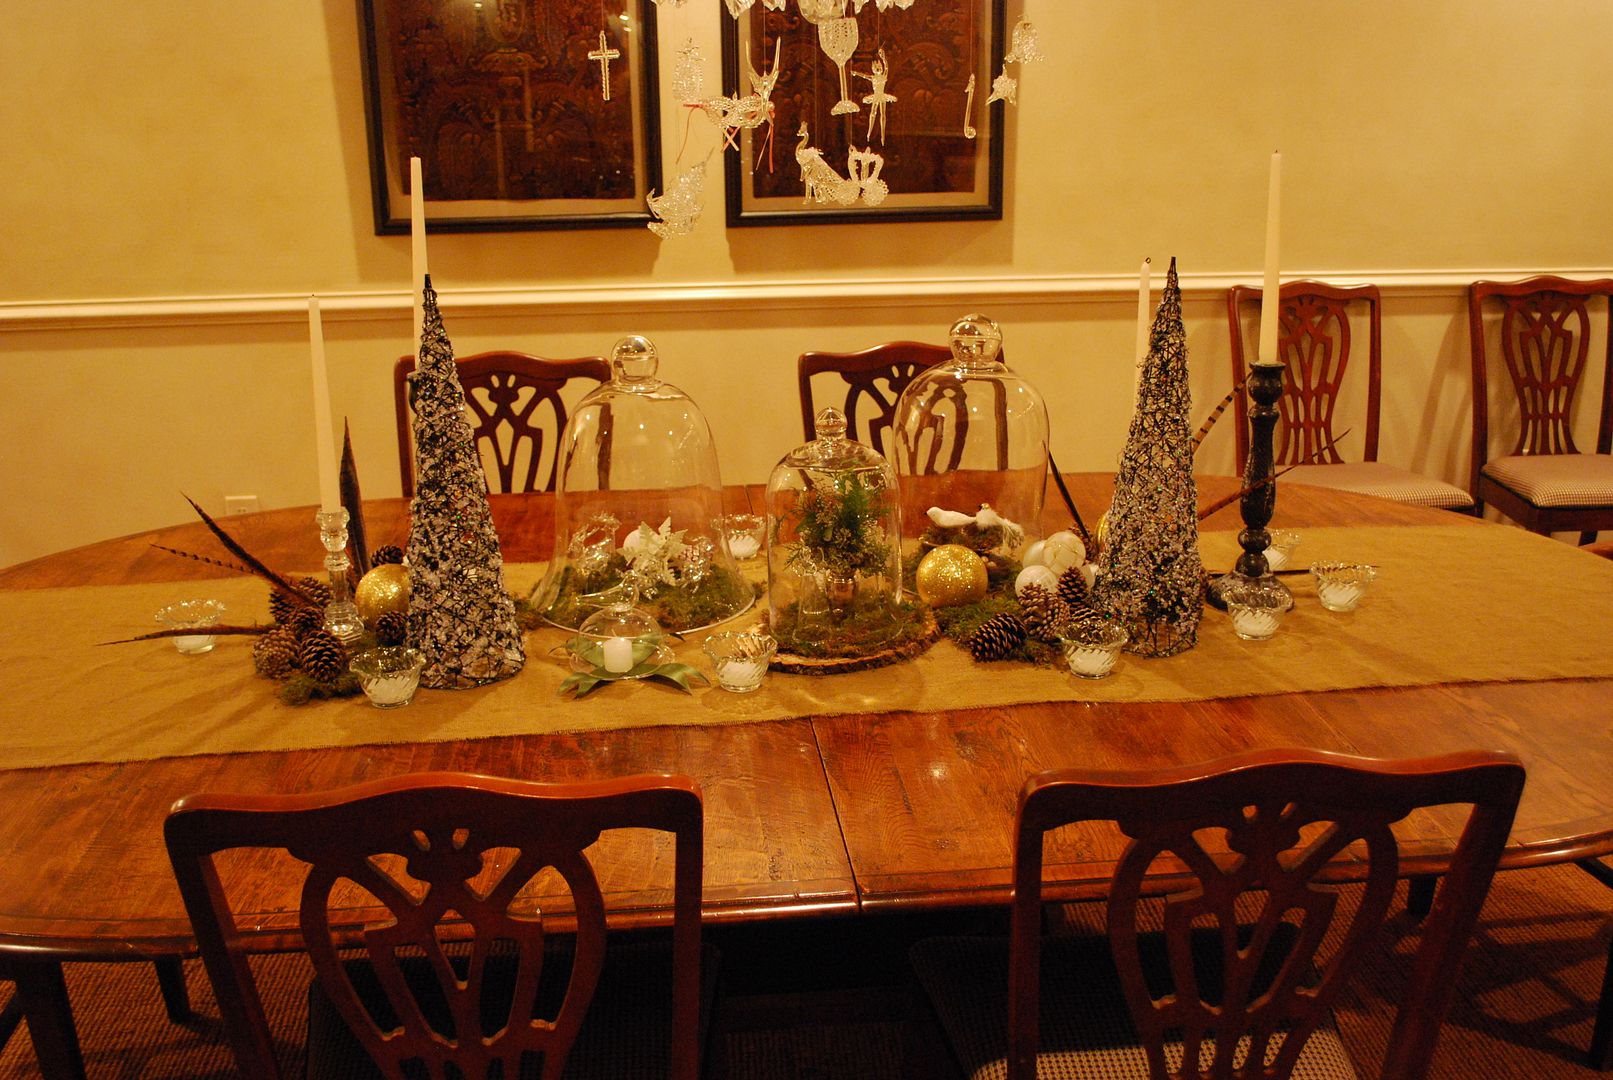
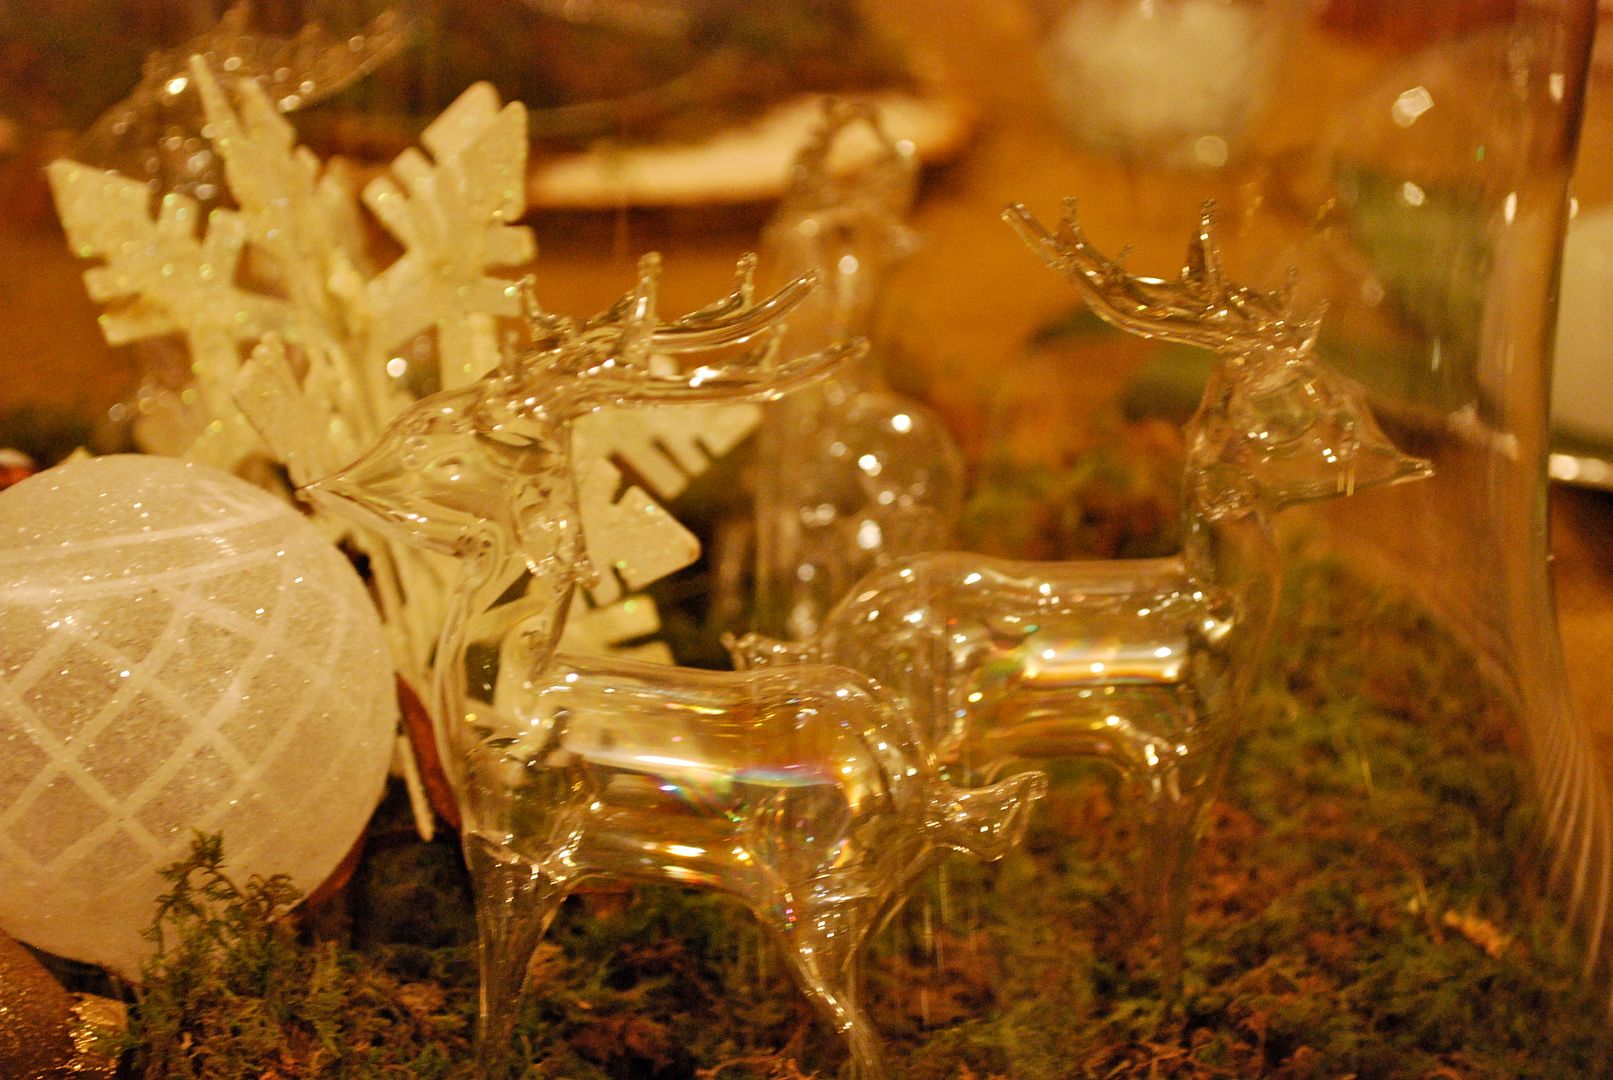
I have tried to use a lot of what I already have - like my very formal traditional holiday pattern by lenox as well as the cloches I purchased last Christmas and the cobalt blue glass from this summer.  By purchasing just a few new pieces, my entire table is going to be transformed into a huge punch of color.  My goal was to dress down the more formal pieces and dress up the more casual pieces for a fun chic look.  The other great thing about some of these items (like the malachite custom table runners) - they are not really considered "Christmas" so I'll be able to reuse them for tablescapes throughout the rest of the year.  Stay tuned for the pictures once I have everything in place.

PS: I can hear some of you now, "We've not even had Thanksgiving yet!" (which, honestly, sounds like my very sweet husband :) when I start asking about putting our tree up every year).  The truth is I am not hosting Thanksgiving.  I get to enjoy the labor of others who are busy working on their Thanksgiving table and menu.  Buuuttt, I am hosting a couple of things for Christmas.  So, I'm getting my ducks in a row now.  Remember, Rome wasn't built in day, people.  It takes some planning.  So, I'm simply sharing the process with you.   Enjoy your Monday! M.

Friday, December 7, 2012

Christmas Decorations - Dining Room

Can I tell you how thrilled I am it's Friday!  What a crazy week it's been . . . I've been working on design plans, Christmas fluffs for clients as well as my own decorations.  To add to this, I'm cleaning out my kid's rooms to make way for the addition of Christmas stuff.  All in all it's been productive, but totally chaotic.  So, I wanted to end the week on a calming/inspiring note.  

Here are a few images of my dining room all decked out for the holidays.  One caveat, it was very difficult to photograph, and I found the ornaments could be seen more easily at night.

Here's a view from the other side of the room. 

This past fall, a very dear aunt of mine called and asked if I wanted all her blown glass Christmas ornaments.  She's had these since I was a kid.  I still remember her Christmas tree covered in them.   I would walk around it picking out my favorites - the ballerina, Cinderella's carriage, and a Christmas tree. After I picked myself up off the ground and thanked her for this very special gift, my mind started racing on what I would do with them.  

Since the ornaments are clear glass, they are very difficult to see on a tree.  You really need colored lights to give them some interest.  In addition, these ornaments are the most fragile things I've ever used in decorating a space.  Since I have white lights and my kids are not super careful around our tree, I decided to use them in my dining room.  

My solution was to hang them from ribbon (1/4" chocolate, moss green and cream double sided satin ribbon) in front of the large windows in my dining room.  By grouping them, you really get some impact.  And by suspending them from the ribbon,  you can appreciate all the intricate details of each one.  They truly are like little works of art.

The small ledge from the transom window gave the ornaments just enough space to float in front of the window.  I then added some cedar garland with one strand of white lights to the top to hide the hooks, and I threw in some ribbon for good measure.  As an aside, I did not make a million nail holes in my window frame - each ornament is attached to one of those small self adhesive clear hooks.  The garland is wired to three nails at the very top where they will never been seen. 

Then we (my daughter was waaay into this project) selected our favorites from the entire collection to hang from the chandelier.  I plan to add a bit of fresh greenery from the chandelier the night before our annual party just to hide the string.  I decided to go with the clear rather than ribbon here so our guest would be able to see each other and not be distracted by tons of ribbon hanging from the chandy.  Do you see the ballerina?? Makes me think of the Nutcracker!

Then for the table top.  I decided to keep the glass/natural element thing going and added as much glass as I could squeeze into the center of my table. 

I already had the glittered trees, pinecones, pheasant feathers, sheet moss and candlesticks.  I did add the three cloches for more sparkle.  I got a great deal on them from here.  I saw a white burlap runner from Pottery Barn for $50, and decided to save a little money by going to the fabric store and purchasing three yards of natural burlap for $15.  I simply cut it the length I wanted and frayed the edges.  I had enough burlap to add a runner to my sideboard as well.  Then, I used things I already had under the cloches for little vignettes of Christmas. 

I hope everyone has a lovely weekend!  I for one will be taking a nap at some point. M.

Wednesday, November 28, 2012

Christmas Trend and An Invitation for You . . .

I just love a good design trend, and for me trend spotting flows right over into decorating for Christmas.  This year the biggest single trend I'm seeing in Christmas decor is earthy elements.  

These would include rustic wood chargers, 

pheasant feathers, 

and pinecones, lots of pinecones.


We traveled to Mississippi for Thanksgiving and while I was there, I picked up a huge bag of pinecones while taking walks on my parents' property.  My plan was to use them throughout our house to bring in that natural element.  I decided to try my hand at making some garland with them for my breakfast room.  I normally don't include a ton of decorations in this space.  But I thought the garland was fun! 

It was super easy, but time consuming - I sat for at least two hours working on it and create about 14 feet total.  

I do love the results but would not be patient enough to create a garland long enough for a stairwell banister or Christmas tree!

  I then included a few pinecones in my centerpiece arrangement on our table.  

My plan is to carry the pinecones throughout the rest of our home for a pulled together look.  I will be showing you pictures of each room as I finish them.  One room down, several more to go!  As my Mom always says, "Honey, you can eat an elephant, if you really want to.  You just have to take it one bite at a time!"  So, one bite at a time. 

An Invitation
 This is a bit of a late notice, but for those who live here in Birmingham, I wanted to extend this very special invitation.  Tonight, Covenant Presbyterian Church is hosting a evening filled with hope and lots of fun,  "hands on" tutorials.  The speaker, Ashley McCary, is a former church member who was diagnosed with a form of cancer in her eye.  Through this devastating ordeal which has resulted in the loss of her eye, Ashley has exhibited a strength of faith that will encourage you and give you a sense of hope that only God can provide.   The evening will begin with Ashley sharing her story.  
Following, there will be holiday tutorials including everything from how to make bows, decorate your mailbox, and make those fabulous gift tags you see on everybody's gifts.  I will also be there demonstrating how to create a beautiful mantle from start to finish.  These tutorials will give you lots to go home and try in your own home.  And the best part, this special night is completely free.  So, if you are in the Birmingham area, grab a friend and join us to celebrate the beginning of a wonderful Christmas season!  (click here for directions)  M. 

Friday, November 23, 2012

Christmas Stocking Tutorial

Earlier this week, I promised to share with you how I made our Christmas stocking last year.  It was a fun affordable way to get a custom look.  I hope you try it for your own home! 
image via Mandi Smith T Interiors

Step One: I took some leftover suede fabric (I used it to make lumbar pillows for chairs in my family room), and had it monogrammed with our names.  I chose chocolate for the lettering just to keep it neutral.  For those local, I had these done at Smith's Variety.

Using one of our stockings from the previous year, I created a pattern from leftover wrapping paper (see all that red in that paper - told you!).

Using the pattern, I cut out one linen "back" for the stocking.

Then I folded down the header of the pattern and cut out one linen "front" for the stocking.  If you want to make this easier, you can simply cut out two linen pieces of the same size and simply overlay the monogramming on top of it.

Then using a liner fabric (I used a thick cream cotton), cut out two liner stockings.  These will be inside the stocking and help to finish all the edges nicely.

Once you get your monogramming complete - with same sides together, sew the bottom of the monogrammed piece to the top of the front linen stocking.

It will look like this (and yes, I did make one for our cute dog, Lottie).

Then using a wide satin ribbon, pin it to the stocking (making sure to center it on the seam you just created).

Then top stitch the ribbon to the stocking on both edges.

Place your pattern on top of what you have sewn so far and trim off any excess fabric.

You now have the finished front of the stocking.  It will look like this.  Just an aside, it would have made the sewing so much easier if I had not rounded the top of the stocking.  A straight line across the top and down the sides would have been much, much easier.

Now it's time to attach the liner to the linen pieces.  Place one liner piece on top of your finished front.

Also place a liner piece on top of your linen back stocking piece and pin these together at the tops only.   Once pinned you will sew these together just at the tops on both pieces (this is where it would have been easier had it been a straight seam.  Then you will open them up to reveal this seam.

Both front and back will look like the picture below.  Now it's time to sew the two long pieces to each other along the sides.  I the image below I have sandwiched the pieces together.  The bottom piece is the liner and back linen (sewn together at the tops) and the top piece is the liner and front linen piece sewn together at the top.  So, to be clear as mud, the liners are matched up on the left and the stocking pieces are matched up on the right (with right sides together).   You will pin these two long pieces together all the way around with the exception of the bottom of the two liner pieces.

Here's a close up of the one place where you will not sew them together.

Once sewn together, you will reach into the opening and pull the stocking out so that the right (or correct) sides are showing.  Much like "righting" a sock before throwing it into the wash (that never happens around here!! Ha!).

Here's a picture of me reaching inside to "right" the stocking.

I took several pictures of this because it is one of my favorite parts about sewing.  I always think - Wow, It worked!

Once you've pulled this stocking through, all you need to do to finish it is whip stitch the opening in the liner closed.  Remember this does not have to be pretty because it will be buried inside the stocking.

Now, last step!  You need a loop to allow you to hook the stocking onto the mantle.  Rather than making this hard, I decided to use leather string.  I think it adds some interesting texture too.

I cut even lengths of leather (so that all the stockings would hang at the same level), and I tied a decorative knot on both ends of each piece.

Then, using a sewing marker (which disappears when you wet it), I made two even marks on each stocking where I wanted to sew the leather strips.

You could do this part by hand, but I'm lazy and wanted to use the machine.  So to do this, you will need to select a zig zag stitch on your machine and drop your feed dogs (which will prevent the fabric from moving), and stitch back and forth in one single spot over the leather end.  You will do this for each of the two knots on the stocking.

If you look closely you can see where I did this.  I used the clear monofilament thread to make it less noticeable in the finished product.

Here are all five (including Lottie!) finished stockings.

And here is how it will hang from the leather strips.

I know this sounds like a lot of steps.  But once you get one under your belt, you can easily get the others finished.  M.
  

Monday, December 26, 2011

Christmas Aftermath

Take a deep breath and let it out very slowly.  Now, it's time to put the dishes away . . . 

Clean up the wrapping paper remains . . . 

And welcome in the new year!  I am full of hope and anticipation as to what this coming year might bring into my life.  How about you?  What big plans do you have on the agenda this year?!  Think about it.  The time is right. 

This week I'm cleaning like a mad woman and working on a couple of design projects for clients who will be expecting some fresh ideas in the new year!  So, I will be posting, but not every day.  In the meantime, I would love to hear about all your new year resolves, hopes and goals. M.